Toilet Won’t Flush? Diagnose It Like a Plumber
Quick answer: Before you touch a tool, run the bucket test: pour a bucket of water into the bowl, fast. If it drains normally, your problem is in the tank — not a clog. If the water rises and sits there, it’s a blockage — plunge with a flange plunger; stop and call a plumber if other drains gurgle, you see sewage, or the auger finds nothing to grab.
First, the mix-up this guide exists to prevent: a toilet that won’t stop running and a toilet that won’t flush are two different problems with two different fixes. If water keeps running into the bowl nonstop, you’re in the wrong place — run the 5-minute running-toilet diagnosis instead. If you flush and the bowl fills, swirls weakly, or just sits there — stay here. We’ll figure out which half of the toilet is at fault in about thirty seconds, then fix that half.
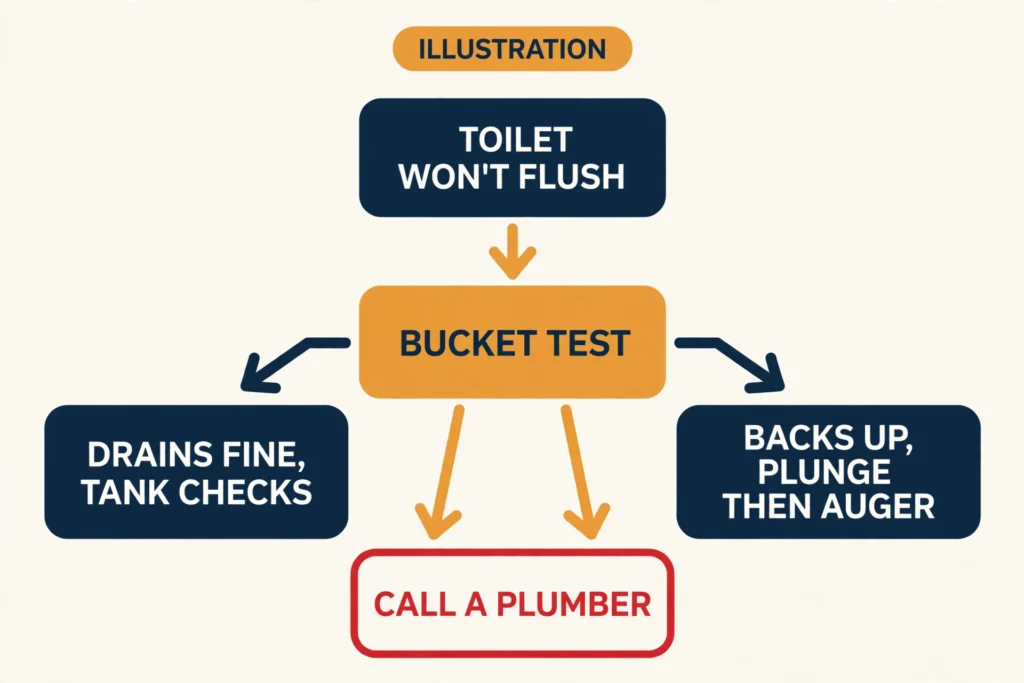
The 30-second test that splits the problem in two
A toilet is two machines bolted together: the tank (which dumps water) and the bowl/trap (which carries waste away). “Won’t flush” can mean either half failed, and every wrong fix starts from guessing which half.
The bucket test: fill a bucket (a gallon or two is plenty) and pour it into the bowl in one fast pour — not a trickle, a committed pour.
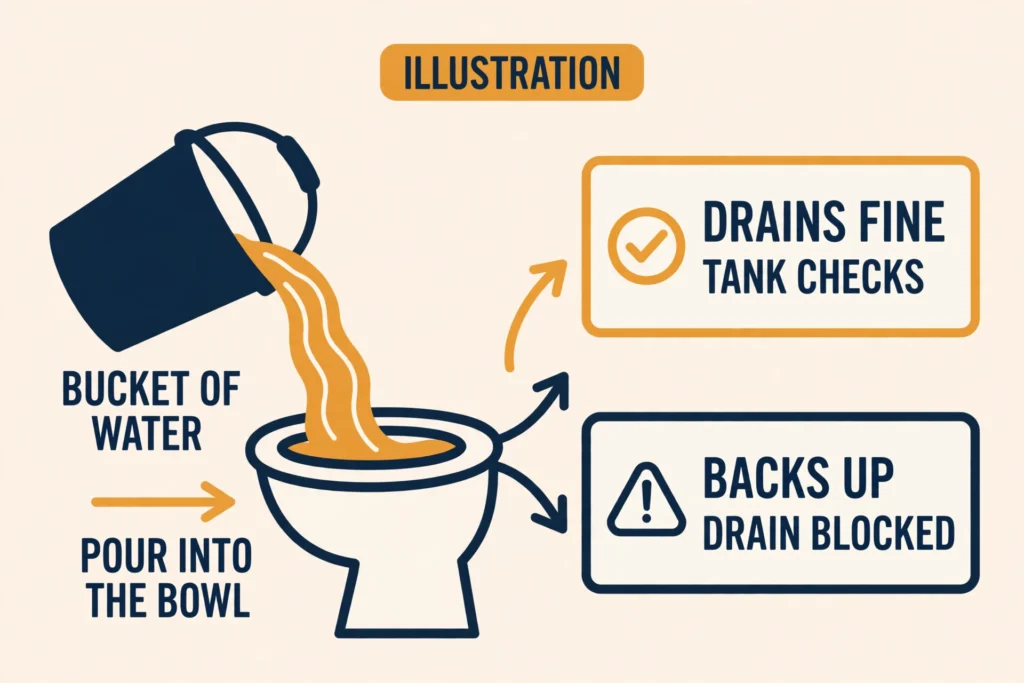
- Water drains away normally → the drain is clear. Your problem is in the tank: not enough water is getting into the bowl, or not fast enough. Skip to Branch A: the tank.
- Water rises and sits, or drains painfully slowly → there’s a blockage in the bowl trap or beyond. Skip to Branch B: the drain is blocked.
That’s the whole fork. Everything below is ordered by likelihood inside each branch — most common first, because panic makes people start with the rarest cause.
Branch A: The tank isn’t doing its job
The drain is fine; the flush is weak because the tank isn’t delivering. Work these in order — each takes under a minute to check.
1. Water level and supply
Open the tank lid (two hands, set it down somewhere it can’t slide off — porcelain lids are expensive). The water should sit at the waterline mark stamped inside the tank. That mark is about ½ to 1 inch below the top of the overflow tube. If it’s well below that, the flush never had a chance — weak flushes look exactly like clogs.
Two usual reasons: the shutoff valve behind the toilet isn’t fully open (turn it counterclockwise until it stops — someone may have half-closed it during an earlier repair). Or the float is set too low so the fill valve quits early. If the tank hisses forever, never reaches the line, or water keeps spilling into the overflow tube, that’s a fill valve problem. The adjustment guide covers the fix.
2. Flapper and chain
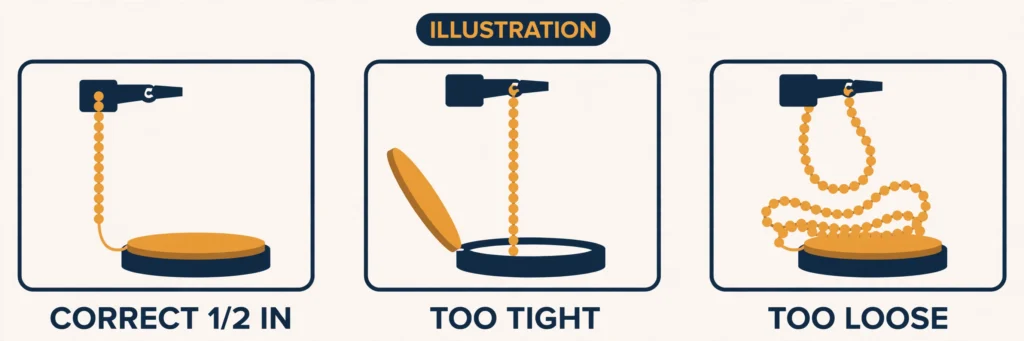
Watch a flush with the lid off. The chain should lift the flapper high and hold it open long enough for the tank to empty — then the flapper should drop flat onto its seat.
- Chain too tight (no slack): the flapper can’t seat, or it gets yanked sideways. You want about one or two links of slack — a small “j” shape when the flapper’s closed. Korky phrases it as one or two links of slack; Fluidmaster says about half an inch. Same thing.
- Chain too loose or tangled: the flapper drops before the tank empties — the flush dies halfway. Shorten it a link or two.
- Flapper warped or stiff: lift it and look. Cracks, stiffness, or mineral crust around the seat mean it isn’t sealing. A flapper that doesn’t seal drains the tank between flushes, so there’s never a full tank when you need one.
If the chain and flapper are the culprit, the fix is the flapper replacement guide — ten minutes, $5–12 part. And it starts with the sizing trap (measure the seat, not the old flapper) that ruins most first attempts.
3. Clogged rim jets
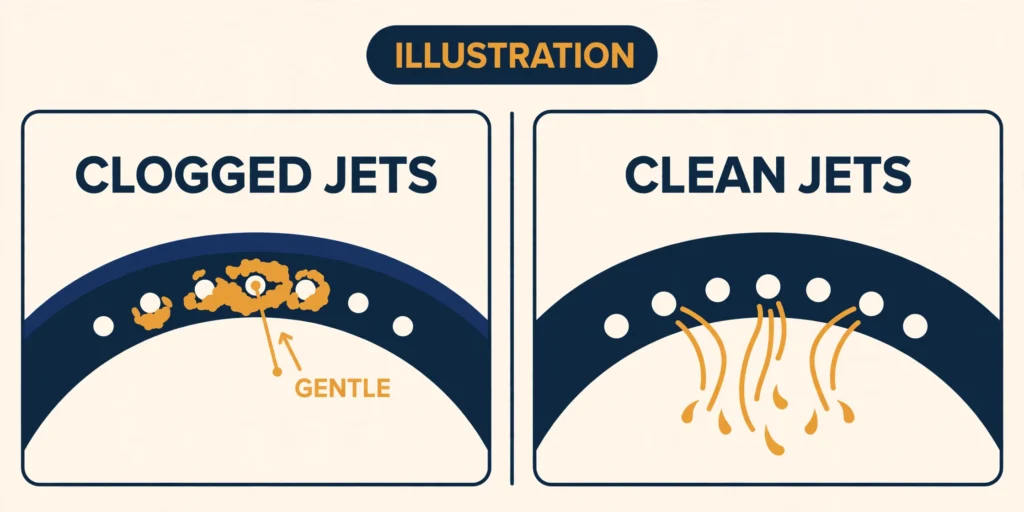
Here’s the sneaky one. The water enters the bowl through small holes under the rim — the rim jets — and their job isn’t just rinsing the sides. They create the swirl that starts the siphon action in the trap. In hard-water homes, mineral scale slowly chokes those holes until water falls straight down the bowl instead of swirling. Full tank, correct flapper, and still a pathetic flush.
How to tell: flush with the lid off and watch under the rim. If the streams are uneven, dribbly, or missing on one side, the jets are scaled.
The fix: start gentle — an in-bowl cleaner and a brush under the rim. For hard deposits: shut off the supply, flush to drop the bowl level, and ream each hole with a paper clip or a finishing nail. Gloves and eye protection, gentle hand — porcelain chips easily, and you’re working upside-down under a rim. Don’t poke a finger into a jet hole; use the tool.
One thing to skip while you’re in the tank: in-tank bleach tablets. Fluidmaster warns against drop-in bleach/chlorine cleaners: they damage tank components and void the Fluidmaster warranty. It shortens flapper life, which puts you back at step 2.
Branch B: The drain is blocked
The bucket test says blockage. Good news: most of these live in the bowl trap, within reach of hand tools. Work the escalation in order — plunger, then auger, then phone.
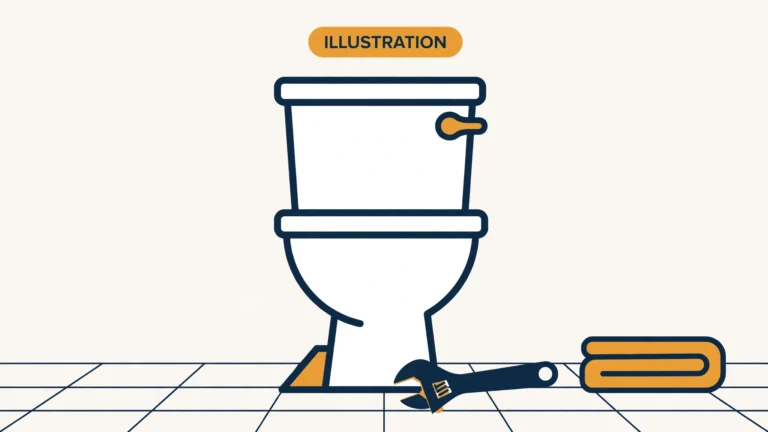
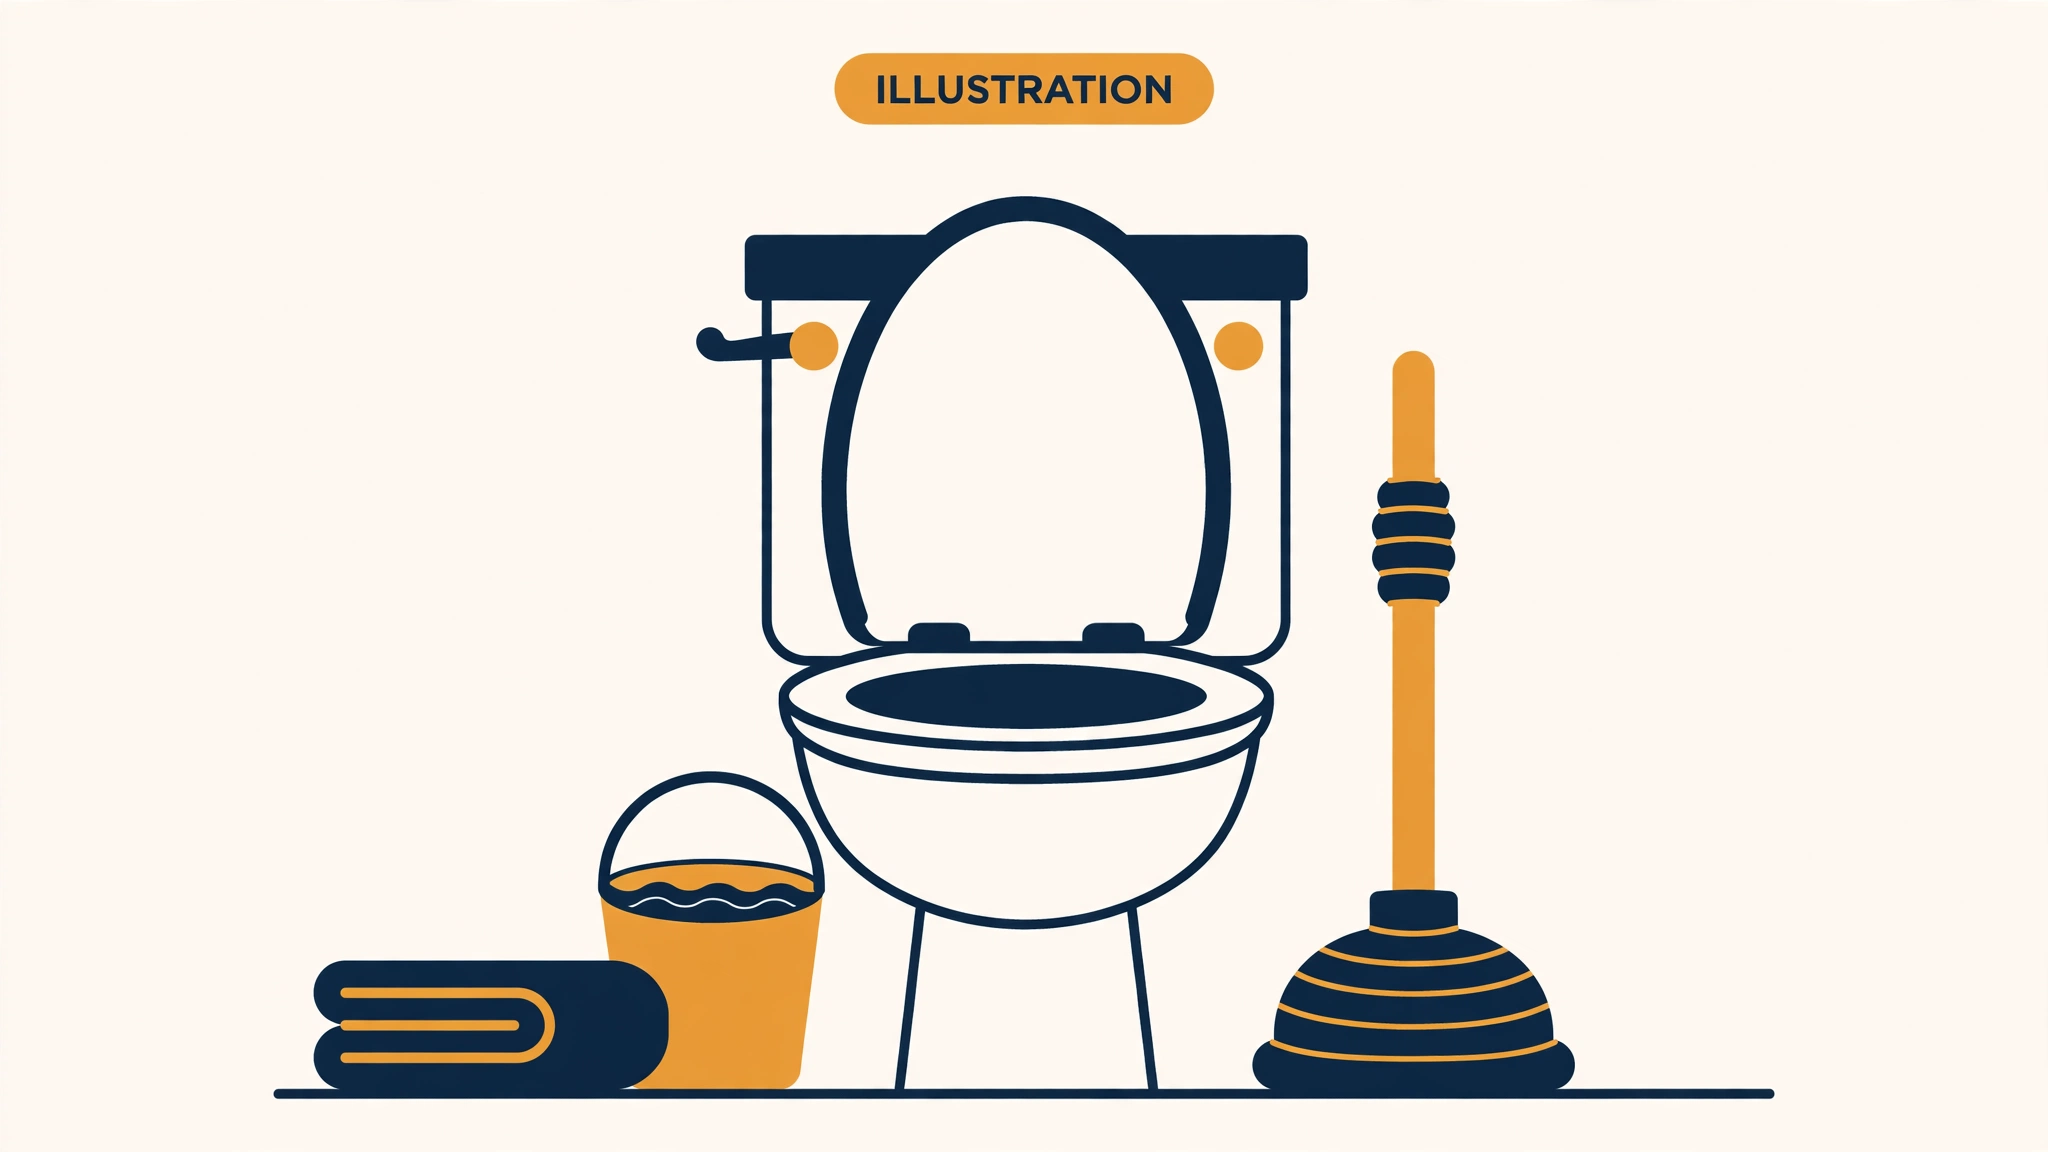
Safety setup first: rubber gloves, eye protection if you expect splashback, towels around the base. If the bowl water is high, close the shutoff valve behind the toilet so a test flush can’t overflow it. And don’t use other nearby drains until you’ve ruled out a shared-line backup (more on that in the stop points).
Step 1: Plunge it properly
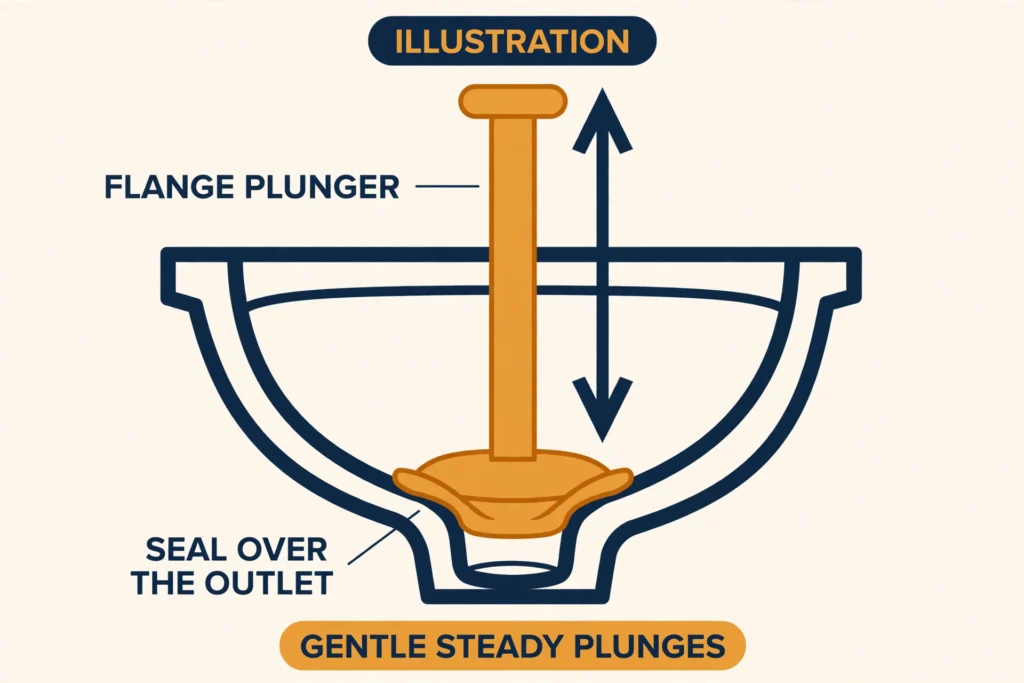
Use a flange plunger — the one with the fold-out rubber lip at the bottom, made for the curved toilet drain — not the flat cup plunger from the sink. The flat one can’t seal a toilet bowl, and a bad seal is why most plunging “doesn’t work.”
Technique: leave some water in the bowl (it transmits the pressure), seat the flange fully over the drain opening. And use short, quick strokes — you’re pushing and pulling the clog, not just pushing. When the water starts to vibrate and move, lift the plunger slightly on the upstroke. That break in the seal can lift the mass so it gets another run at the trap. Give it a solid couple of minutes before declaring defeat. If the water starts receding, you’re winning — keep going, then flush once to confirm.
Step 2: The closet auger
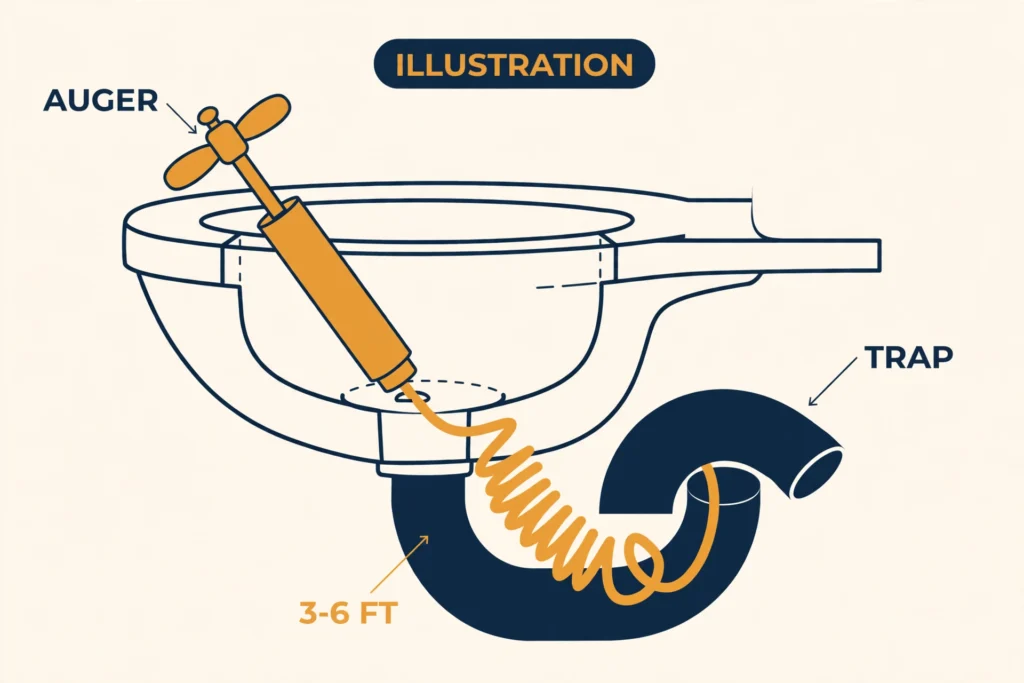
If the plunger fails — or you suspect a solid object (kids, “flushable” wipes, the usual suspects) — the next tool is a closet auger (toilet auger). It costs $20–40 at any hardware store. It’s a 3-to-6-foot cable inside a protective sleeve, made specifically to navigate the toilet’s trap curves. Use this, not a bare drain snake: the sleeve is what keeps the metal cable from scratching or cracking the porcelain.
- Pull the cable back so the tip sits protected inside the sleeve.
- Seat the curved end of the sleeve firmly against the bowl’s drain opening.
- Feed cable into the trap while cranking the handle clockwise, gentle steady pressure.
- When you hit resistance, keep gentle pressure and keep cranking — you’re boring through soft material (paper) or hooking a solid object. Never force the handle. Over-cranking kinks the cable and can crack the bowl from the inside.
- Pull back slowly. If you hooked something solid, bring it out — bag it, don’t flush it “to finish the job.”
- Restore a normal bowl water level and flush once to test. If the water rises instead of draining, close the supply and stop.
If the cable spins freely with nothing to grab and the clog is still there, the blockage is past the toilet — packed too deep or too tight for a 3-foot cable. That’s the handoff point, and it belongs in the stop points below, not in a second hour of cranking.
What not to flush (so this doesn’t recur)
The EPA’s guidance is to flush only toilet paper — nothing else, including wipes. Toilets are designed for waste and toilet paper. Everything else is a future auger purchase.
What this costs
DIY: a flange plunger runs $10–15, a closet auger $20–40. Most toilet clogs are fixed for under $40 in parts you’ll own forever.
Pro: a plumber clearing a toilet runs $100–275 for a standard visit (2026 national ranges, HomeGuide) — about 5 minutes for a near-fixture clog. If the toilet has to come off the floor to reach the object, expect the removal and reset with a new wax ring. Main-line cleaning is a different job at $200–800. After-hours and weekends typically run 1.5–3× standard rates — a toilet that can wait until morning is worth real money.
One pricing sanity check worth knowing: if a plumber quotes over $300 just to snake a straightforward toilet clog, get a second quote.
The full DIY-vs-pro breakdown for toilet repairs lives in the running-toilet cost guide — the methodology (October 2026 prices, materials/labor separated) is the same.
Don’t do this
- Chemical drain cleaners in a toilet. They rarely clear toilet clogs, they can splash caustic water during plunging or augering, and they can damage porcelain and septic systems. Mechanical first, always.
- Mixing chemicals. Never mix drain openers with each other or with bleach — and never follow chemicals with a plunger, which just aerosolizes them.
- Forcing the auger. A kinked cable is a ruined tool; a cracked bowl is a new toilet.
- Flushing what you just fished out. Bag it. The trap already proved it doesn’t want it.
- Ignoring multi-fixture symptoms. One slow toilet is a toilet problem. A slow toilet plus a gurgling tub is a main-line problem, and no amount of plunging fixes the main line.
Stop points: when the answer is “call a plumber”
This is the section most guides bury. Some “won’t flush” problems are not toilet problems, and the difference matters because the fix is a different machine in a different place.
Call a licensed plumber if any of these are true:
- Other drains are involved. Water backs up in the tub or shower when you flush, or more than one drain in the house is slow at the same time. That’s a main sewer-line clog, not a toilet clog — a toilet auger can’t reach it.
- You hear gurgling from other drains when you flush, or see bubbles coming up through the trapway. Those point to a blocked vent stack or waste stack — roof-level plumbing, not a DIY job.
- Sewage appears anywhere it shouldn’t — a floor drain, the tub, the yard. Stop using water and call. This is the one that’s genuinely urgent.
- The auger found nothing but the blockage persists (cable spins free, no grab). It’s past the toilet — the plumber brings longer cable or a camera.
- You can feel or see an object lodged past reach in the trap. Getting it out means pulling the toilet off the floor and resetting it on a new wax ring — a routine job for a plumber, a risky first project for anyone else.
None of these mean you failed. They mean you diagnosed correctly, which is the valuable part. You’ll describe the symptoms accurately on the phone, and you’ll know whether the quote you get is sane (see the cost box above).
FAQ
Why does the handle feel loose and nothing happens when I flush? The lift chain has disconnected from the flapper or the handle arm — there’s nothing pulling the flapper up. Open the tank and rehook the chain (leave that half inch of slack).
The tank is full but the toilet still won’t flush. Why? Then the tank isn’t the problem — or rather, the water isn’t getting out of the tank properly. Check the chain (too loose = flapper drops too fast), then the rim jets (scaled = no swirl). Both are in Branch A above.
Do low-flow toilets clog more easily? They can. Less water per flush means less push through the trap, and dense waste or thick multi-ply paper makes it worse. The fixes are the same; the prevention is using less paper per flush and flushing twice when needed rather than once with a mountain.
Can I just keep plunging? If ten focused minutes of proper flange-plunger technique hasn’t moved it, more plunging won’t. Escalate to the auger — that’s what it’s for.
How do I know it’s the main sewer line and not the toilet? The signature is more than one fixture: tub or shower backing up when the toilet flushes, gurgling in other drains, sewage smells from floor drains. One misbehaving toilet is a toilet problem; a chorus of them is a main-line problem. Call a plumber for the latter.
Part of our plumbing repairs cluster — the branch-by-branch diagnosis for a toilet that won’t flush.
Sources
- HomeGuide — Cost to Unclog / Snake a Drain (2026)
- EPA — EPA Encourages Americans to Only Flush Toilet Paper
- HomeownerBasics — Toilet Clogged Wont Flush
- Plumbers101 — How to Fix a Toilet Wont Flush Properly
- Sensible Digs — How to Use Toilet Auger
- Terry Love Forums — How to Use a Closet Auger on a Plugged Toilet (thread, p.2)
- EngineerFix — How to Unclog a Toilet When Nothing Works
Last verified: October 2026.