How to Replace a Toilet Flapper in 10 Minutes
Quick answer: A flapper swap is a $5–12 part and ten minutes of work. The part everyone gets wrong is buying: measure the flush valve seat (the drain opening in the tank bottom) — roughly 2″ or 3″ — not the old flapper, which warps. Snap the new flapper onto the valve pegs, and set the chain with about half an inch of slack (a small “j” shape, per Fluidmaster’s own instructions).
If the diagnosis guide sent you here, you already know the flapper’s the culprit. Good news: the swap itself is the easiest repair in the bathroom — no tools, all hand work. The catch nobody tells you: most guides start with “buy a new flapper” and skip the one step that actually matters, which is buying the right flapper. Get that right and the rest takes ten minutes. Get it wrong and you’re making a second trip for an $8 part, which is somehow more annoying than the original leak.
Not diagnosed yet? Run the 5-minute running-toilet diagnosis first — it takes ninety seconds and names the exact part, so you don’t guess.
Step 0: Buy the right flapper (do this before the store trip)
This is the whole article in one section. The swap is trivial; the purchase is where flapper jobs fail.

The size trap
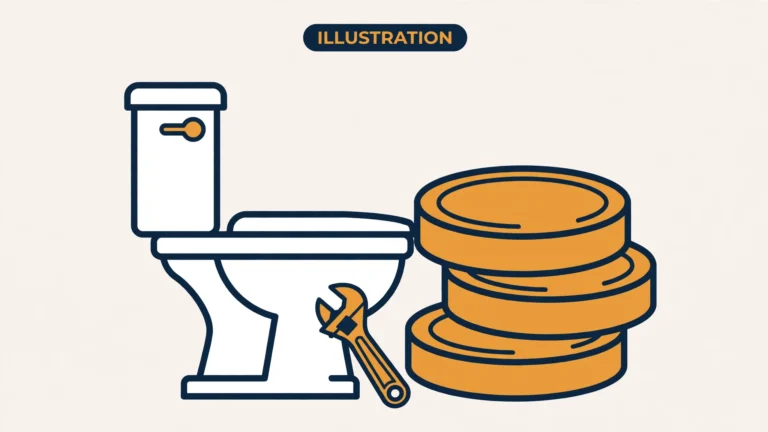
Flappers are named for the seat they cover, not for their own size — and that’s the trap. A flapper sold as “2-inch” has a sealing surface that measures about 3 inches across. A “3-inch” flapper measures about 4 inches across. It has to be bigger than the opening to seal it, which makes perfect sense once someone tells you, and ruins your afternoon when nobody does.
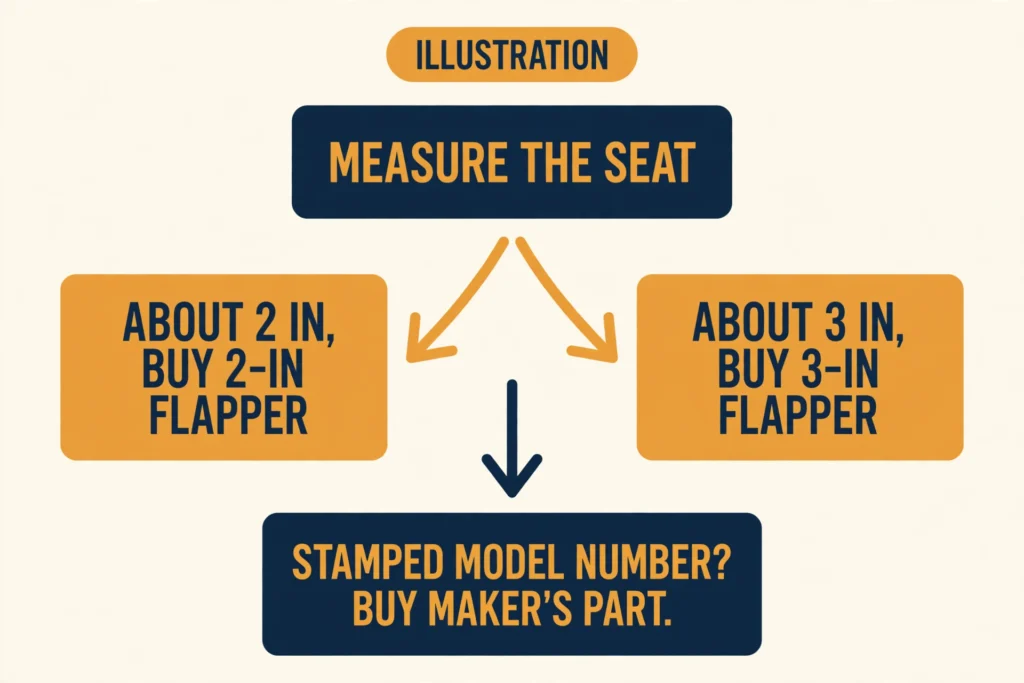
So ignore the old flapper entirely — rubber swells and warps, so measuring it lies to you. Measure the flush valve seat: the drain opening at the bottom of the tank that the flapper sits on. Inner diameter, straight across through the center:
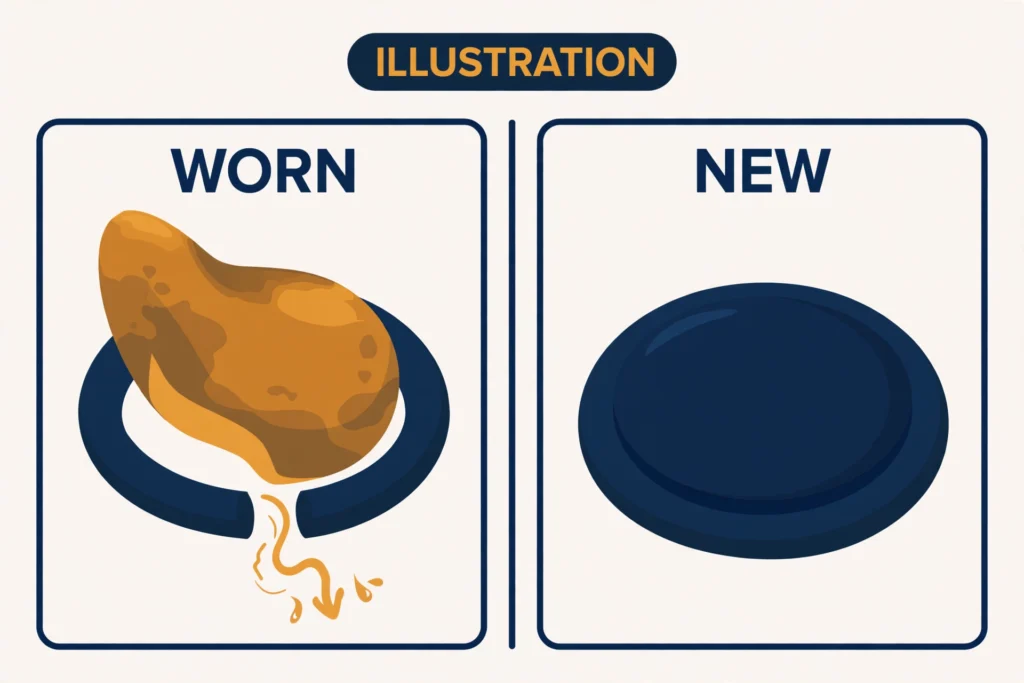
- ~2 inches → buy a 2-inch flapper
- ~3 inches → buy a 3-inch flapper
Context that helps: 2-inch is standard on most toilets made before ~2000. 3-inch shows up on newer high-efficiency models (1.28 gallons per flush) — the bigger opening lets less water exit faster. But model year alone is unreliable, so measure anyway. A tape measure and thirty seconds beats a return trip.
The proprietary-model check
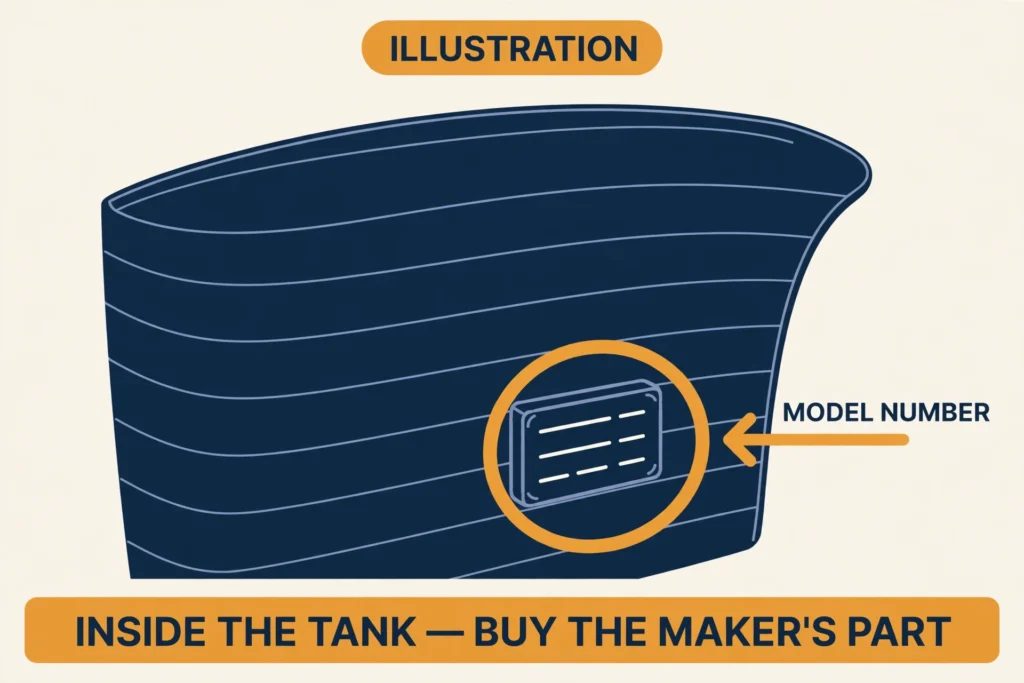
Before anything goes in the cart: look for the model number stamped into the porcelain inside the tank, usually on the back wall. Some Kohler, Toto, and Mansfield models use proprietary flappers or canister systems — a generic flapper won’t seal on those seats no matter how carefully you measured. If you find a model number, buy the maker’s part for that model. If your tank has a tall cylinder instead of a flapper ball, that’s a canister — different part (the seal on its base), and the diagnosis guide covers the distinction.
No model number and a standard-looking seat? A quality aftermarket flapper from Fluidmaster or Korky in the right size is exactly what the manufacturers’ own instructions assume you’ll buy.
What you need
- Replacement flapper, correct size — $5–12 (October 2026 US retail, Home Depot/Lowe’s shelf prices)
- Ruler or tape measure — for the seat check, if you haven’t bought the part yet
- Towel (for the tank lid), small bucket or cup, sponge, rubber gloves
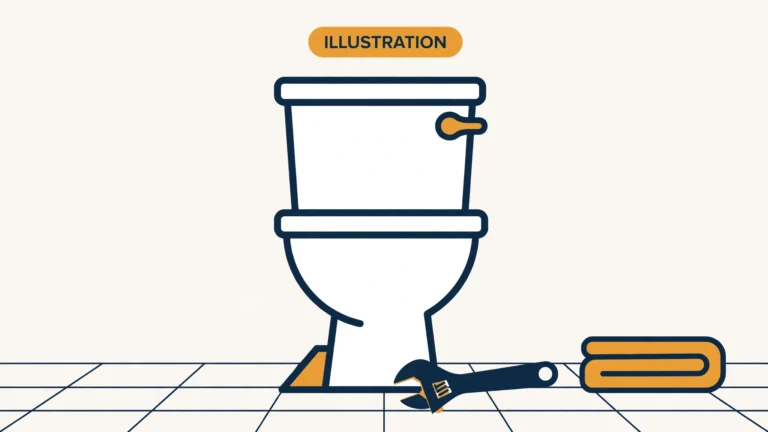
- Tools: none. The entire swap is hand work — flappers snap on.
That’s the whole list. If a guide tells you to buy a repair kit, pliers, and a multi-tool for this job, it’s padding.
The 10-minute swap
1. Shut off the water
The shutoff valve is behind or below the toilet — clockwise closes it. If it won’t turn, don’t force it. Penetrating oil and patience, or stop here: a snapped old valve turns a $12 flapper job into a plumber’s visit.
2. Lift the tank lid — carefully
Straight up, then set it on a towel somewhere away from foot traffic. Porcelain lids are heavy, awkward, and crack with shocking ease. This remains the most commonly broken thing in toilet repair, and it has nothing to do with plumbing.
3. Drain the tank
Flush and hold the handle down to get most of the water out, then sponge up the last inch. You want the flush valve seat exposed and visible for the measurement and the swap.
4. Unhook the old flapper
Unclip the chain from the flush lever, then slide the flapper’s ears off the mounting pegs on the flush valve. Lift it out. While you’re looking: note any brand name stamped on the flush valve — handy if you ever need that maker’s part.
5. Measure the seat (if you haven’t yet)
Inner diameter of the drain opening, edge to edge through the center. ~2″ → 2-inch flapper; ~3″ → 3-inch flapper. This is the measurement from Step 0 — if you bought the part already, this is your last chance to confirm before opening the package (keep the receipt either way).
6. Snap the new flapper on
Ears onto the mounting pegs, flapper centered over the seat. It should sit flat under its own weight. If it rocks or sits crooked, the size is wrong — stop and re-measure rather than forcing it.
7. Set the chain — the half-inch rule
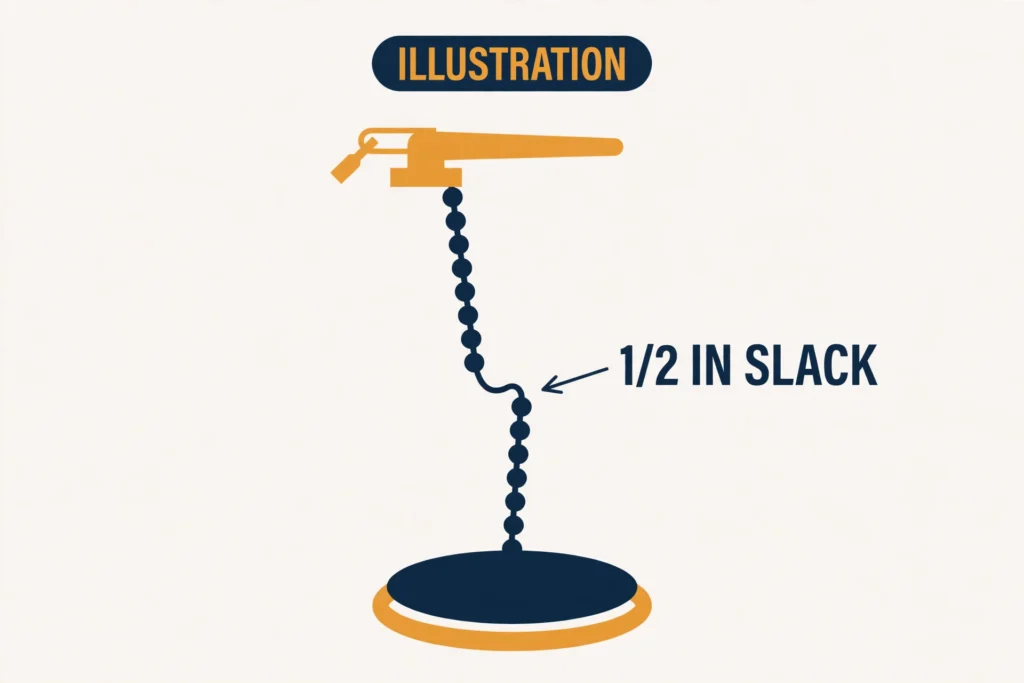
Hook the chain clip to the flush lever directly above the flapper, leaving about half an inch of slack. Fluidmaster’s own install guides describe it as a small “j” shape when the flapper is closed. (Korky says the same thing as one or two links.)
Too tight holds the flapper slightly open, which recreates the exact leak you just fixed. Way too loose and the flapper won’t lift fully, which gives you a weak flush. Half an inch, small j. Done.
8. Turn the water back on
Let the tank fill. The target level is about ½ to 1 inch below the top of the overflow tube. Fluidmaster’s guide says roughly ½ inch. Korky’s says about 1 inch. The fill-valve adjustment guide covers the fix in full if yours is off.
9. Flush twice and watch
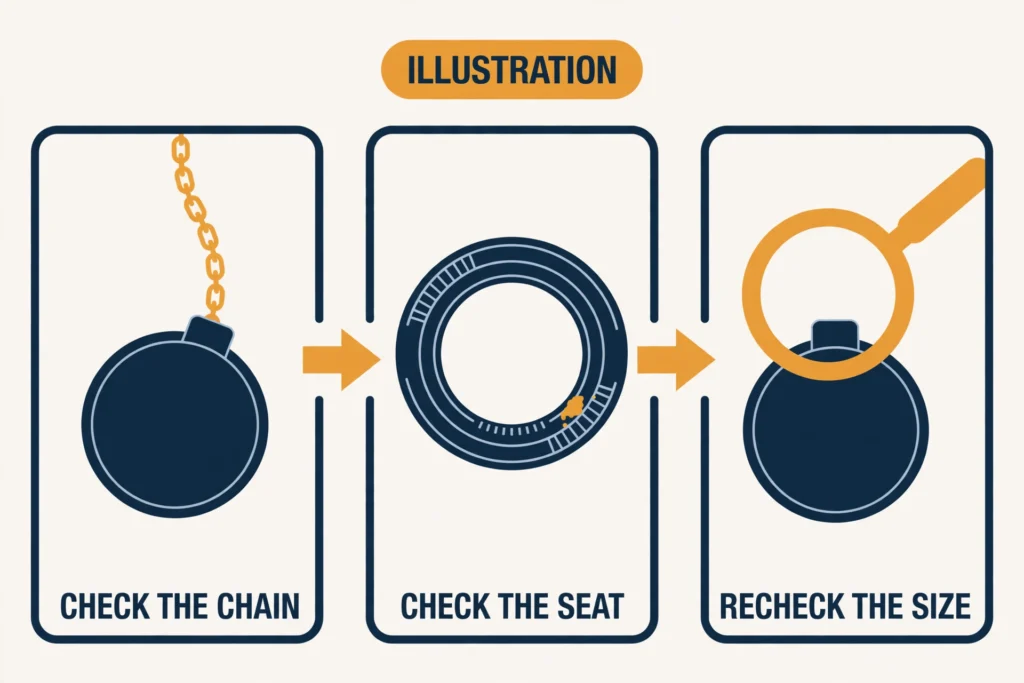
The flapper should lift fully, then drop back down flat onto the seat within a couple of seconds. Press down gently on it. If the running sound or the faint rippling in the bowl stops, it’s not seating on its own. Check the chain slack first (step 7 is the usual suspect), then the seat.
If the new flapper still leaks
Don’t buy a second flapper. If a correctly sized new flapper fails, the problem is the seat. Nicks, mineral buildup, or corrosion on the surface the flapper rests on will defeat any rubber you put on it. Light buildup can be cleaned off; a damaged seat means replacing the flush valve assembly, which involves removing the tank. That’s a meaningfully bigger job, and an honest point to weigh the pro option — the running-toilet cost guide breaks down the math.
Don’t do this
- Buying before measuring. The second hardware-store trip is the most expensive part of this repair. Thirty seconds with a tape measure names the size; guessing names two of them.
- Measuring the old flapper instead of the seat. Warped rubber lies. The seat is the only measurement that counts.
- Putting a generic flapper on a proprietary system. If the tank has a stamped Kohler/Toto/Mansfield model number, buy the maker’s part. A generic on a proprietary seat is a guaranteed second trip.
- Setting the chain by feel. “Looks about right” gives you either a held-open flapper (the original leak, recreated) or a weak flush. Half an inch, small j — it’s a spec, not a vibe.
- Forcing the shutoff valve. Covered in step 1, worth repeating: a snapped valve is an emergency call. Information, not a challenge.
- Drop-in tank tablets, going forward. The blue bleach pucks degrade rubber flappers and seals — Fluidmaster and Korky both warn against them. You just installed fresh rubber; don’t start dissolving it on day one. Bowl cleaners go in the bowl, not the tank.
What this costs
The short version: $5–12 for the part, DIY (October 2026 US retail). No labor if it’s your ten minutes, no other parts. The full picture — what a plumber charges for the same visit ($100–400, almost entirely the service-call fee), when the pro visit is actually justified, and what moves a quote — lives in the dedicated running-toilet cost guide.
When to call a pro
Call a licensed plumber if the shutoff valve won’t turn or snaps, or if the repair means removing the tank to replace the flush valve assembly. Work that needs a permit, or that involves gas, needs a licensed pro.
FAQ
Can I figure out the size without draining the tank? Not reliably. The seat measurement needs the tank empty, and the old flapper’s size lies. Two honest shortcuts: the model number stamped inside the tank (look it up, buy the maker’s spec), or buy both sizes, keep the receipt, and return the loser. The receipt is doing real work here.
My tank has a tall cylinder instead of a flapper — same steps? No — that’s a canister system, common on newer and dual-flush toilets. The diagnosis is the same but the part is different: you replace the seal on the bottom of the canister, not a flapper ball. Don’t force a flapper onto a canister seat.
How long should a flapper last? A few years in normal service. Chlorine, hard water, and especially drop-in tank tablets shorten it — which is why a flapper that dies young usually has a blue puck sitting next to it. When the dye test fails again, it’s time, not a mystery.
The chain keeps tangling or catching — what am I doing wrong? Usually excess slack or something in the chain’s path — a cleaning-tablet cage is the classic culprit. The chain should hang in its small j with a clear drop to the lever, touching nothing. Re-hook it one link shorter and check the path.
Do I really need to shut off the water? For the swap, yes. It keeps the fill valve from fighting you and the tank from refilling mid-job. (The dye test in the diagnosis guide didn’t need it — different job.)
My toilet is a dual-flush — does this apply? Dual-flush toilets almost always use button/canister mechanisms, not flapper balls. This guide is for flapper-style tanks. If yours has buttons on the lid, you’re in canister territory.
Part of our plumbing repairs cluster — the step-by-step flapper procedure. Start with the 5-minute running-toilet diagnosis if you haven’t confirmed the culprit, and see the running-toilet cost guide for the full DIY-vs-pro math.
Sources
- https://www.korky.com/toilet-repair-help/how-to-replace-toilet-flapper
- Manuals.plus — Fluidmaster K-400H-043 installation guide (PDF)
- https://manuals.plus/m/9ea1c19cdb55f3b7758892bfa8a45b0fd6600e7b63608928a2d83c8f3115853c
- EngineerFix — How to Measure a Toilet Flapper for Replacement
- EngineerFix — Are All Toilet Flappers the Same
- ToiletsExpert — toilet flush valve replacement
Last verified: October 2026.