How to Fix a Leaking Shower Head
Quick answer
Most leaking shower heads are a $2 washer, a loose connection, or mineral buildup — not a new fixture. Dry everything, run the shower for 15 seconds, turn it off, and watch where the water appears. That tells you the fix in under a minute — and if the drip keeps going minutes after shutoff, it is the valve, not the head.
How do you tell if the leak is the shower head or the valve?
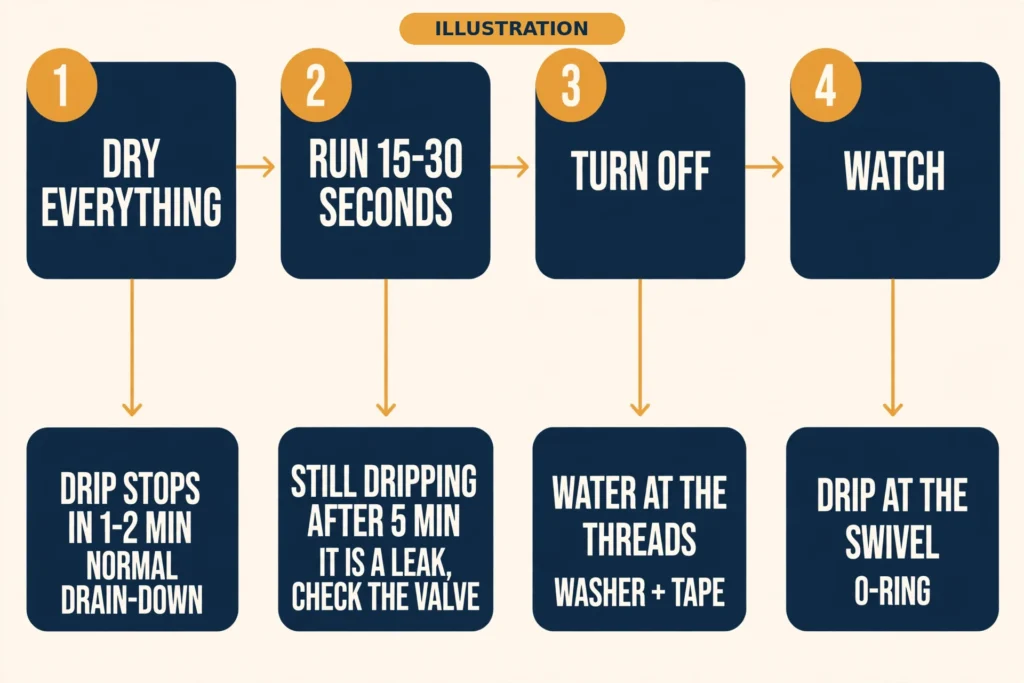
Where the water appears decides the fix. Dry everything with a towel, run the shower for 15 to 30 seconds, turn it off, and watch. This is the 60-second diagnosis.
| What you see | Most likely source | The fix |
|---|---|---|
| Drip from the spray face, stops within a minute or two of shutoff | Residual water draining from the head — not a leak | No repair. A 50/50 vinegar-water clean may reduce it. |
| Drip from the spray face, keeps going minutes after shutoff | Valve or cartridge not sealing | Not the head — see the hub and spoke 1 below. |
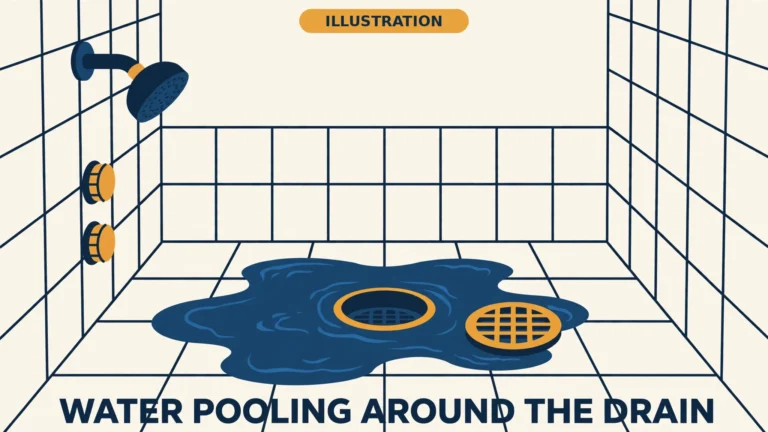
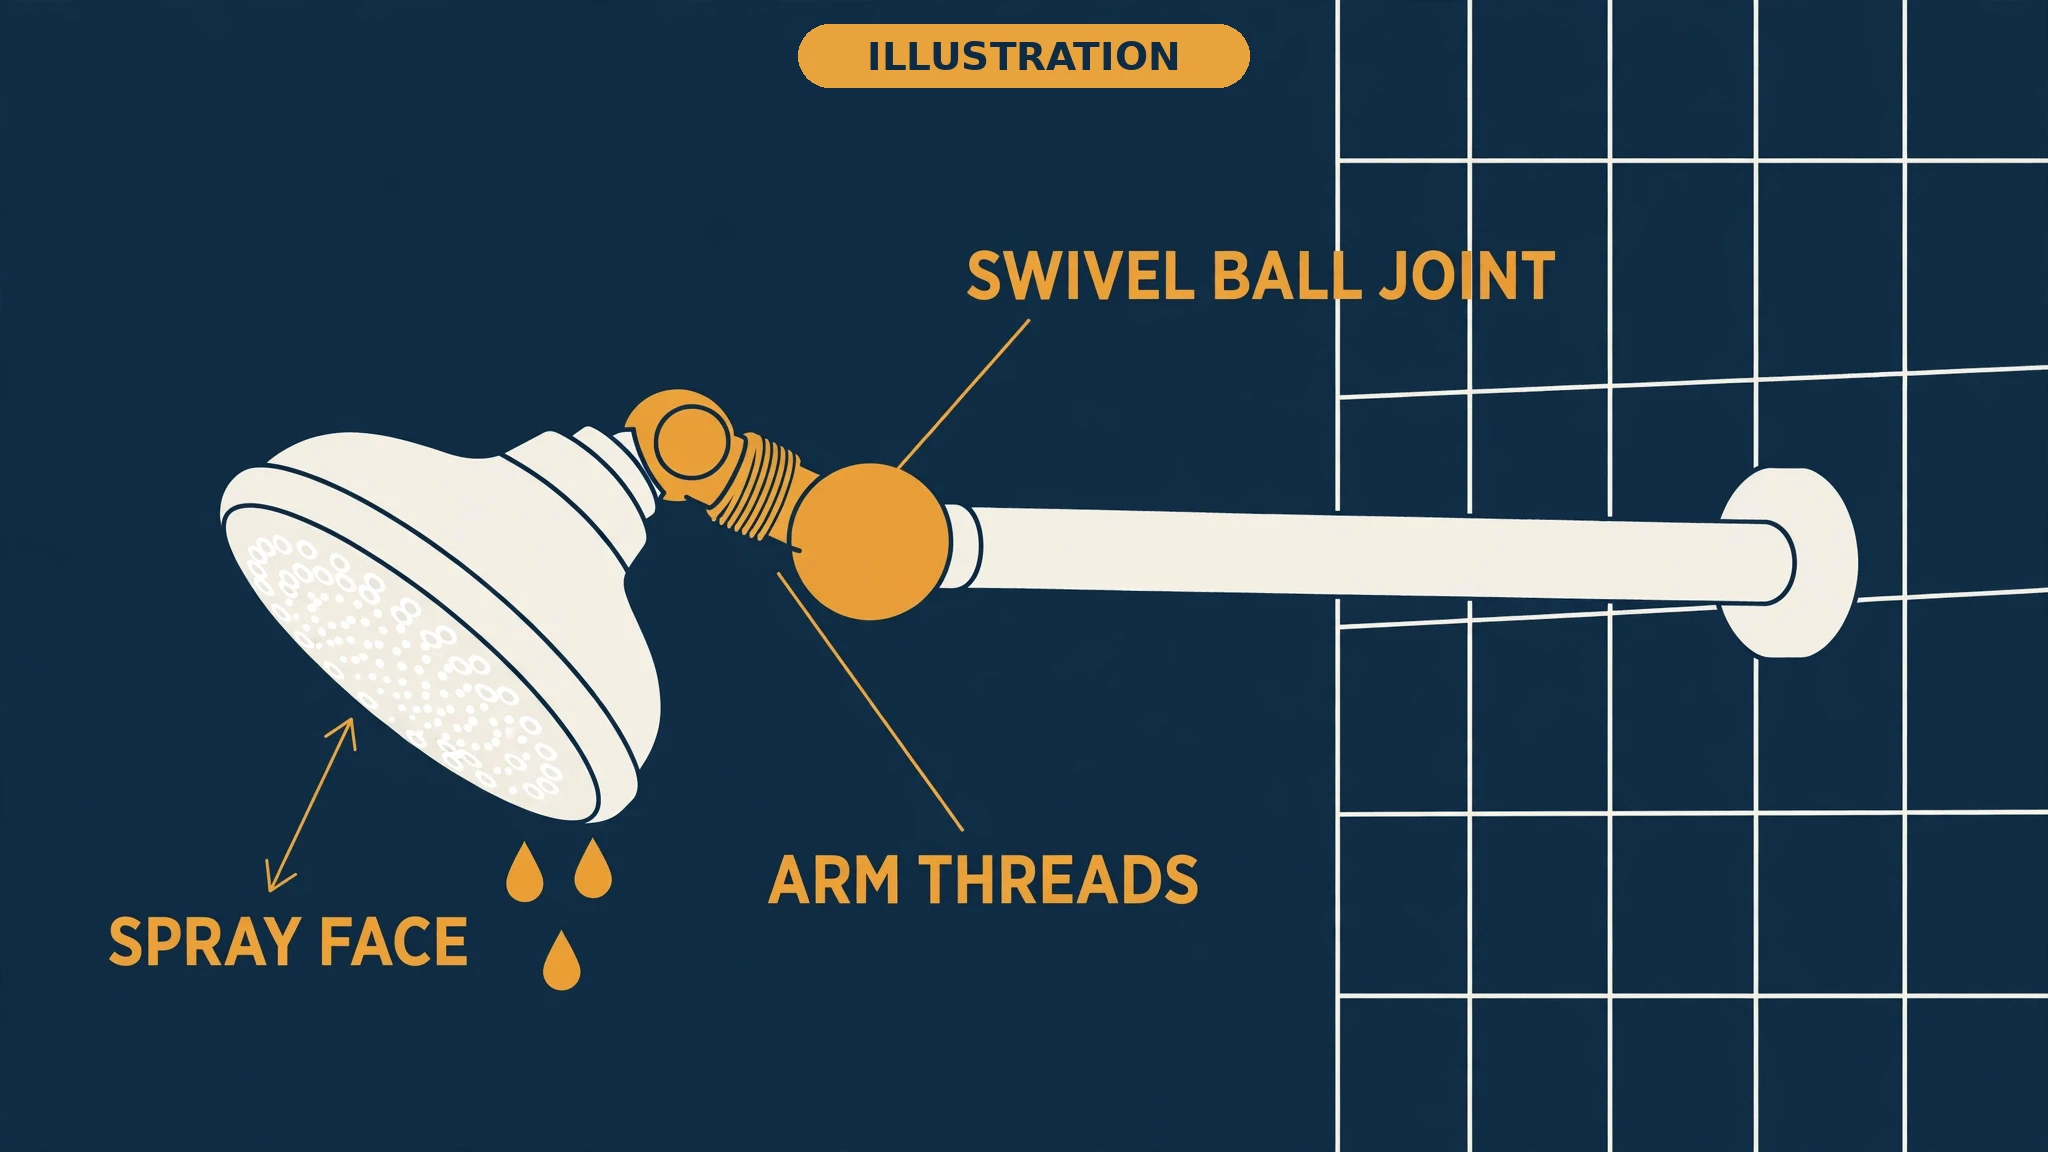
| Water beading or running down the arm threads while the shower runs | Failed thread seal at the arm connection; worn washer behind it | New PTFE tape and a new washer. |
| Drip or weep from the swivel ball joint where the head pivots | Worn O-ring or washer inside the ball joint | Replace the O-ring first — it costs cents. |
| Drip from a handheld shower’s hose nut | Flattened hose washer | Replace the hose washer — same part, same method. |
| Some nozzles blocked, uneven spray, weak flow | Mineral buildup inside the head | Descale the head. |
| Head droops or sags and will not stay aimed | Worn ball-joint washer, lost tension | Replace the ball-joint washer. |
| Water from the escutcheon, or the arm wiggles or spins in the wall | Arm loose in the drop-ear fitting inside the wall, or the arm is corroded | Stop. Pro. |
| Drip only while the shower runs, from the head body itself | Hairline crack in the head | Replace the head. Tape and washers cannot seal a crack. |
The Kohler test, if you are not sure: take the head off the arm and watch. If the drip continues with the head off, it is the valve. If it stops, it is the head.
Is it normal for a shower head to drip after you turn it off? Yes, for a minute or two. That is the head emptying its reservoir — Delta calls a minute or so normal, Kohler says up to 90 seconds. The sources disagree on the exact window. The honest line is this: a minute or two is normal draining. If it is still dripping after five minutes, it is a leak.
If the drip is the valve, this article stops here. The fix is a cartridge swap, not a washer.
Shower Valve Replacement: The Complete Homeowner’s Guide
The fix, step by step
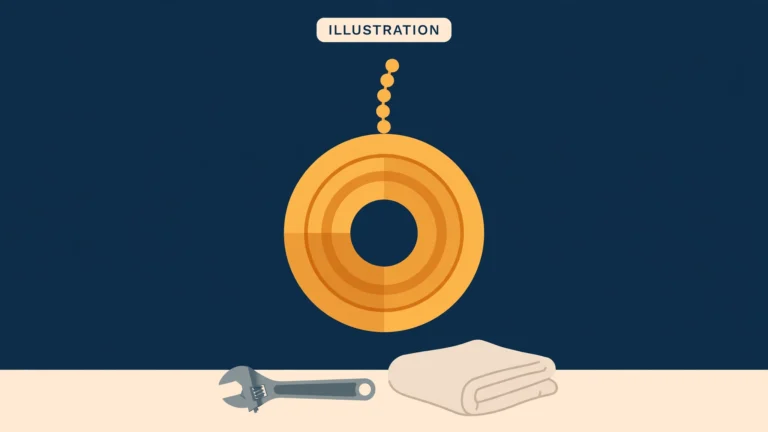
Tools: adjustable wrench, soft cloth or rag, PTFE (Teflon) thread tape, replacement washer or O-ring, toothpick or jeweller’s screwdriver, old toothbrush, white vinegar, small bucket, silicone plumber’s grease (optional).
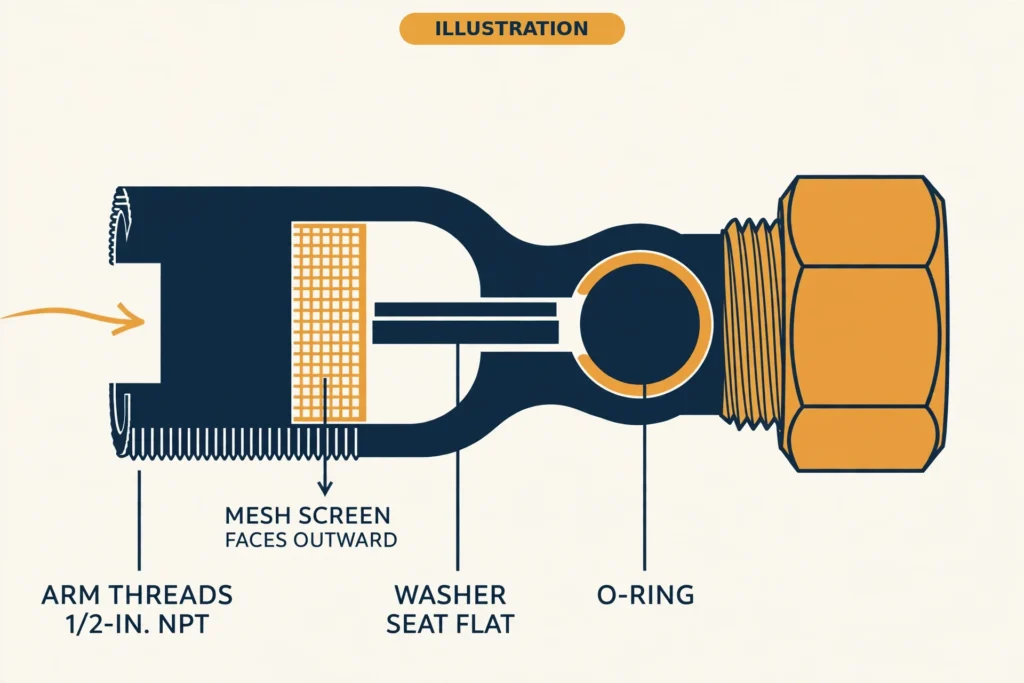
Materials: the exact washer or O-ring for your head. Bring the old one to match — size and thickness matter more than brand. Standard is 1/2-in. NPT.
- Shut the water off. Most showers have no accessible local shutoff, so use the main house valve. Open the shower handle to confirm the water is off and drain the lines. Cover the drain so a small part cannot fall in.
- Diagnose first. Do not skip the table above. It decides whether you buy a washer, a bottle of vinegar, a new head, or a plumber.
- Tighten first — it costs nothing. Try the head by hand. If it moves, snug it: hand-tight, then a quarter-turn with the cloth-protected wrench. Hold the arm with a second wrench while you turn the head. Twisting the arm can loosen the fitting inside the wall, and that turns a washer job into a wall job. Test. If the drip stops, done.
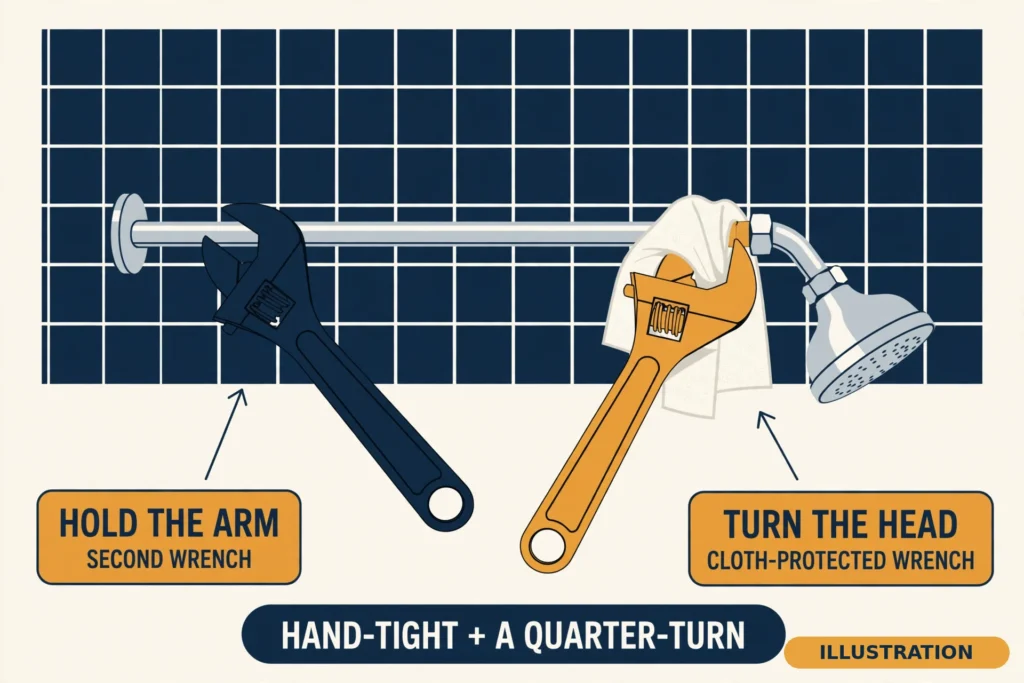
- Remove the head. Counter-clockwise, with the cloth-protected wrench. If it is stuck, soak the joint with vinegar and wait. Do not force it.
- Inspect the washer inside the coupling nut. It sits flat against the interior surface where the arm’s end meets it. Replace it if it is flattened, cracked, stiff, or missing. If it looks fine, the tape or the descale is the fix. Pry the old one out gently with a toothpick or jeweller’s screwdriver — do not scratch the inside of the nut. Match size and thickness. EPDM resists hot water; silicone has superior heat resistance and stays flexible longer. Seat the new washer flat and flush in its groove. A dab of silicone plumber’s grease is optional.
- Tape the arm threads. Clean old tape and grit off the arm threads first, with the toothbrush. Wrap PTFE tape clockwise — the direction the head turns on. 3 to 6 wraps. The sources disagree on the count. EngineerFix says 2 to 4, FixBeforeCall says 3 to 4, one small guide says 6 to 8. Three to six wraps sits in the middle of that range. Start at the second thread and do not cover the first thread heavily — that risks cross-threading. Do not use pipe joint compound on this connection. It ends up inside the head and the screen.

- Ball-joint O-ring, only if the drip is at the swivel. The washer sits just inside the socket or on the ball itself. Pry it out, clean mineral deposits off the ball and housing, seat the new washer flat and flush. Some kits include a washer with a mesh screen — the screen faces outward, toward the water flow. Reassemble in reverse order, then tape, hand-tight, quarter-turn. Do not crank harder on a swivel. It makes the leak worse. Try the O-ring first — it costs cents and takes five minutes. If the ball joint itself is scored, or the head is old, replace the head.
- Descale while the head is off if any nozzles are blocked or the spray is uneven. The vinegar method is below.
- Inspect for cracks before reassembly. Look at the head body, the plastic swivel nut, and the arm threads under a good light. Hairline crack, heavy corrosion, or stripped threads — tape and washers cannot fix it. Replace the head, or the arm. If the arm is corroded into the wall fitting, that is a pro call.
- Reassemble and test. Hand-tight, then a gentle quarter-turn with the protected wrench. Just enough force to compress the gasket without stripping the threads. Turn the water on, check the joint dry, run the shower, turn it off, and watch for the drain-down window before deciding it still leaks.
Time: 10 to 15 minutes for a washer and tape job, 30 to 60 minutes with a descale soak. Skill: beginner. No plumbing experience needed for the head itself.
How to descale the head with vinegar
Do this when the spray is uneven, nozzles are blocked, or the flow is weak. Mineral buildup is the number one cause of uneven spray.
Bag method, head still on the arm.
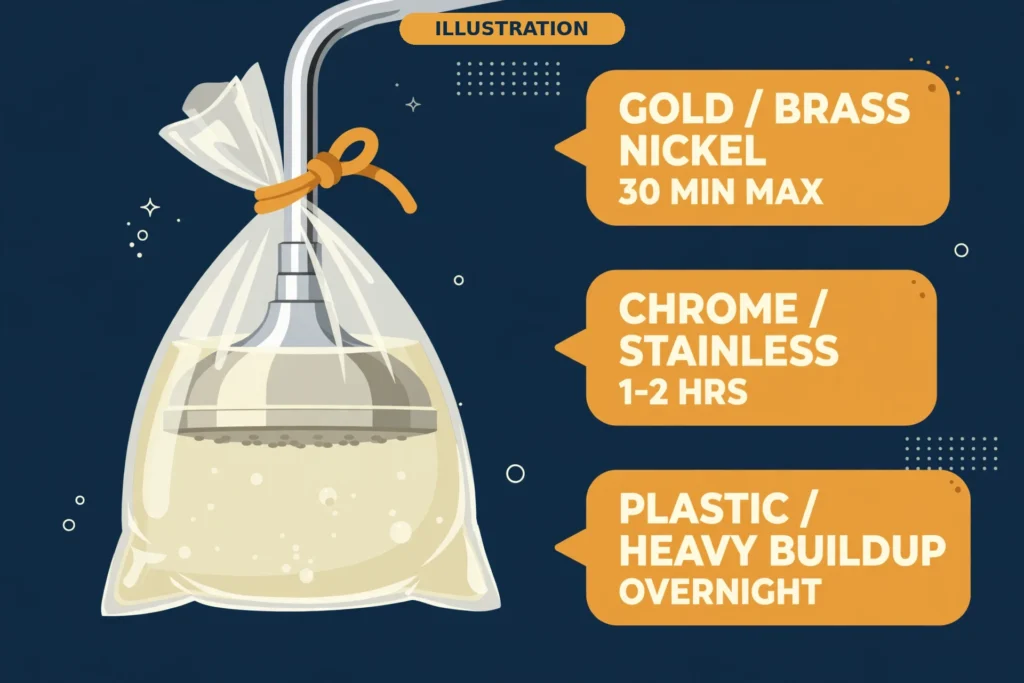
Fill a plastic bag with plain white vinegar, submerge the head, and tie it on. Leave it for 1 to 2 hours — overnight for heavy clog.
Soak method, head off.
Use 50/50 white vinegar and water. Soak times by finish, from KO Plumbing: brass, gold, or nickel — 30 minutes maximum; chrome or stainless — 1 to 2 hours; plastic or heavily clogged — overnight.
Scrub with an old toothbrush. Poke blocked nozzles with a toothpick, never a pin that can enlarge them. Clean the filter screen per the manufacturer’s manual. Rinse, reassemble, test.
If cleaning does not restore flow, check the flow restrictor. If flow is still low after that, it is a pressure problem, not a head problem.
[LINK → How to Fix Low Water Pressure in a Shower: the full diagnosis, from the showerhead to the supply.]
Never use abrasives, ammonia, chlorine, or bleach on the finish. That is general finish care from the guides, not a maker quote.
When it is not the head
- Drip continues with the valve off after a new washer, tape, and clean → valve or cartridge. Hub and spoke 1, linked above. One pointer, then stop — no cartridge steps here.
- Water from the tub spout while the shower runs → diverter, not the head.
- Low pressure or weak flow after cleaning → the low-pressure spoke. That is where the flow-restrictor check and the pressure diagnosis live.
- Arm loose in the wall, water from the escutcheon, cracked threads, heavy corrosion, handle hard to turn → pro.
No permit is needed for this repair. Swapping a washer, tape, or the head itself changes no piping and opens no wall. That is below the permit threshold — unlike the hub’s full valve-body replacement, which needs a permit in most places. If the job escalates to opening the wall, it stops being DIY, and the permit question becomes the pro’s.
What does it cost to fix a leaking shower head?
DIY parts (2026, US):
| Item | Cost |
|---|---|
| Replacement washer | $2–$5 |
| PTFE tape | ~$3 |
| Washer kit | $5–$15 |
| DIY repair total, parts | $2–$15 |
| DIY repair total, parts | $5–$40 |
Pro head-only repair (2026, US):
| Source | Cost |
|---|---|
| KO Plumbing | $50–$150 |
| John Moore Services, Houston | $90–$250 |
| FixBeforeCall, including call-out | $125–$250 |
The DIY total runs $2–$15 on one source and $5–$40 on another. The spread is the head and the market, not disagreement about the same washer. The pro range runs $50–$150 at the low end to $125–$250 including a call-out. One older local page puts DIY at $10–$50 and pro at $100–$300 — third corroboration only, never the lead figure.
Repair or replace the head?
| Item | Cost |
|---|---|
| Basic new shower head | $15–$50 |
| High-end shower head | Up to $300 |
| Full DIY head swap, including tools | ~$75 |
| Pro install of a new head | $75–$150 |
| Full replacement project, head + install | $75–$700 total, national average $260 |
One modeled estimate puts installing a shower head at $175–$451 nationally. That is a model, not observed prices — flag it, do not quote it as a price.
The cost hook for this article: a washer job is $2–$15 in parts and 15 minutes. A pro visit for the same drip is $50–$250, depending on the market and the call-out.
Water waste, for the cost logic: a showerhead leaking at 10 drips a minute wastes more than 500 gallons a year. Household leaks waste 10,000+ gallons a year. Those are the EPA WaterSense figures. One local guide quotes 9,300 gallons for household leaks — that differs from the EPA’s 10,000+. Use the EPA’s figure.
A WaterSense-labelled head uses a maximum of 2.0 gallons per minute, against the 2.5 federal cap — 20 percent less than the current federal standard.
Don’t do this
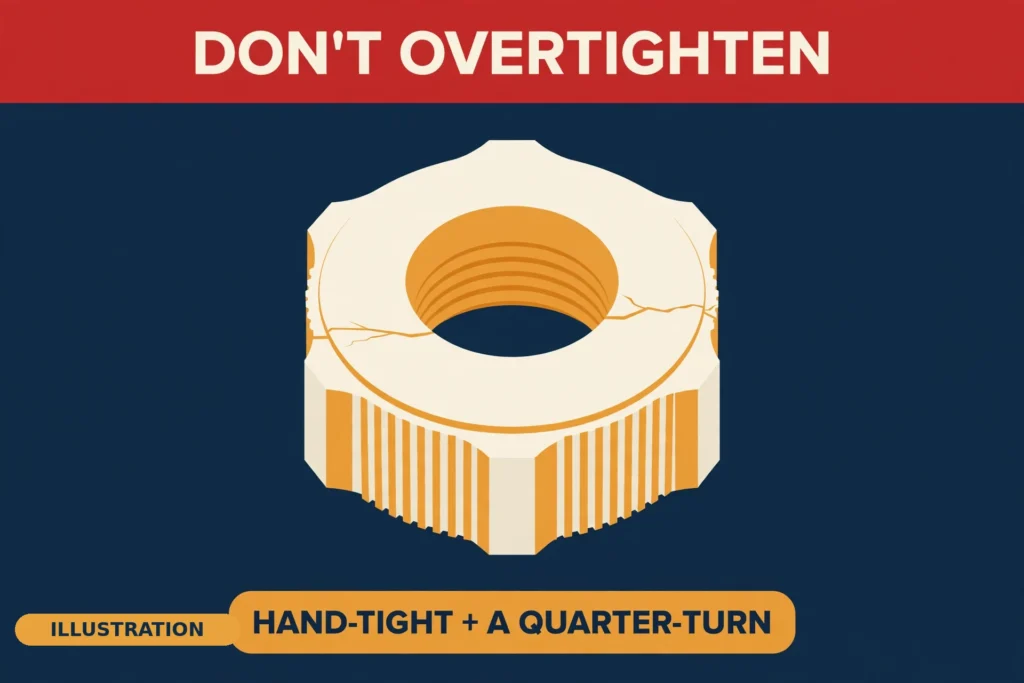
- Don’t overtighten. It crushes washers, cracks plastic swivel nuts, strips threads, and can crack the arm or loosen the wall fitting. Hand-tight plus a quarter-turn is the finish. A pro put it bluntly:
“I’ve had to replace more cracked washer seats from overtightening than from the original leak itself.”
- Don’t crank the swivel harder. It makes a swivel leak worse, not better.
- Don’t use pipe joint compound on the head connection. It ends up inside the head and the screen.
- Don’t force a stuck head or a corroded arm. Soak the joint with vinegar and wait. Forcing it can snap the arm or strip the threads inside the wall.
- Don’t twist the arm while turning the head. Hold the arm with a second wrench, every time. One homeowner learned this the hard way:
“I pulled off the ‘tailpiece’ and it had corroded. However, I did break off the male thread on the ‘tailpiece’ inside of the female thread of the pipe in the wall.”
- Don’t confuse a valve drip with a head drip. If the drip continues with the valve off after a new washer and tape, stop. Read the hub and spoke 1 instead. A second washer will not fix a valve.
Call a pro when
Water comes from the escutcheon or inside the wall. The arm is loose or spins in the wall. Threads are cracked or heavily corroded.
A part will not come out without force. The drip continues after a new washer, tape, and clean — that is the valve. The handle is hard to turn — that is the valve too. There is moisture outside the shower or on the wall below.
The short version
Watch where the water appears — that is the diagnosis, and it takes 60 seconds. A minute or two of dripping after shutoff is normal draining. A drip that keeps going is the valve, not the head. For the head itself: shut the water off, tighten first, then a new washer and 3 to 6 wraps of tape, clockwise, holding the arm with a second wrench. Descale if the spray is uneven. The whole job is a $2 washer and 15 minutes — unless the arm wiggles in the wall, and then it is a plumber.
FAQ
How do I stop my shower head dripping?
Find where the water appears first. A drip from the spray face that stops within a minute or two is normal draining. A drip at the arm threads is a washer and tape job. A drip that keeps going minutes after shutoff is the valve, not the head.
Why is my shower head still dripping even after I replaced the valve cartridge?
Check the head itself: the washer, the tape, and mineral buildup. A new cartridge fixes the valve. If the head’s washer is flattened or the tape is gone, the head still drips. If the drip continues after a new washer and tape, the valve body is damaged — that is a pro job.
How much does it cost to fix a leaking shower head?
A washer job is $2–$15 in parts. A pro visit for the same drip runs $50–$150 at the low end, $125–$250 including a call-out. A basic new head is $15–$50; a full replacement project averages $260 nationally.
Why does my shower head drip hours after I turn it off?
A head can only drain for a minute or two. A drip that starts hours after shutoff, or only at night, is the valve letting water past — not the head. Read the hub and spoke 1 for the cartridge fix.
Can a dripping shower head cause damage?
Yes, if the water is going somewhere it should not. A drip into the tub is wasted water. A leak at the arm threads, or water from the escutcheon, can rot drywall and framing inside the wall. That is the leak to chase, not the drip from the spray face.
Can a new shower head fix a leak?
Only if the head itself is the problem — a cracked head or a scored ball joint. A washer seat worn out with age counts too. A new head will not fix a valve drip, and it will not fix a leak at the arm threads if the threads themselves are damaged.
Sources
- FixBeforeCall (Marcus Webb) — How to Fix a Dripping Showerhead Yourself (Before Calling a Plumber) (published 2026-07-15) — https://www.fixbeforecall.com/how-to-fix-a-dripping-showerhead/
- KO Plumbing (Ladson, SC) — How to Fix a Leaking Shower Head in Ladson, SC (2026 Guide) (dated October 10, 2026) — https://www.koplumbingsc.org/blog/fix-leaking-shower-head-ladson-sc
- EngineerFix — How to Fix a Leaky Shower Head — https://engineerfix.com/how-to-fix-a-leaky-shower-head/
- easytofix.homes — Fix a Dripping Showerhead Without Replacing the Fixture (published 2026-11-04) — https://www.easytofix.homes/blog/fix-dripping-showerhead-without-replacing-fixture
- EPA WaterSense — Specification for Showerheads — https://19january2021snapshot.epa.gov/sites/static/files/2017-02/documents/ws-background-showerheads-draftspec.pdf
- Angi — 2026 Cost to Replace Shower Head (updated Oct 14, 2026) — https://www.angi.com/articles/cost-replace-shower-head.htm
Last verified: November 2026.