How to Fix a Wobbly Toilet: Tighten, Shim, or Reset
Quick answer: Push the toilet side to side at the base: if it moves, it’s loose. Pop the caps and snug the closet bolts a quarter-turn at a time, alternating sides; wedge shims under the low side and caulk around the base, leaving the back open. Only pull the toilet and replace the wax ring when there’s water on the floor, a sewer smell, or a soft floor.
The 60-second check (do this before touching anything)
A wobble is a symptom, not a diagnosis. Thirty seconds of looking tells you which fix you’re in for:
- Push the toilet side to side and front to back. Note which way it rocks — that tells you where the gap is.
- Look at the base. Water pooling, staining, or a musty smell at the floor line means the wax seal has already failed — skip to “when the wobble means something worse.”
- Press the floor around the base with your foot. Spongy or soft = subfloor damage. Stop. That’s a pro job, not a shim job.
- Peek under the bolt caps. Pop the little plastic caps at the base. If a bolt is visibly rusted through or the nut spins freely, the hardware — or the flange holding it — is the problem.
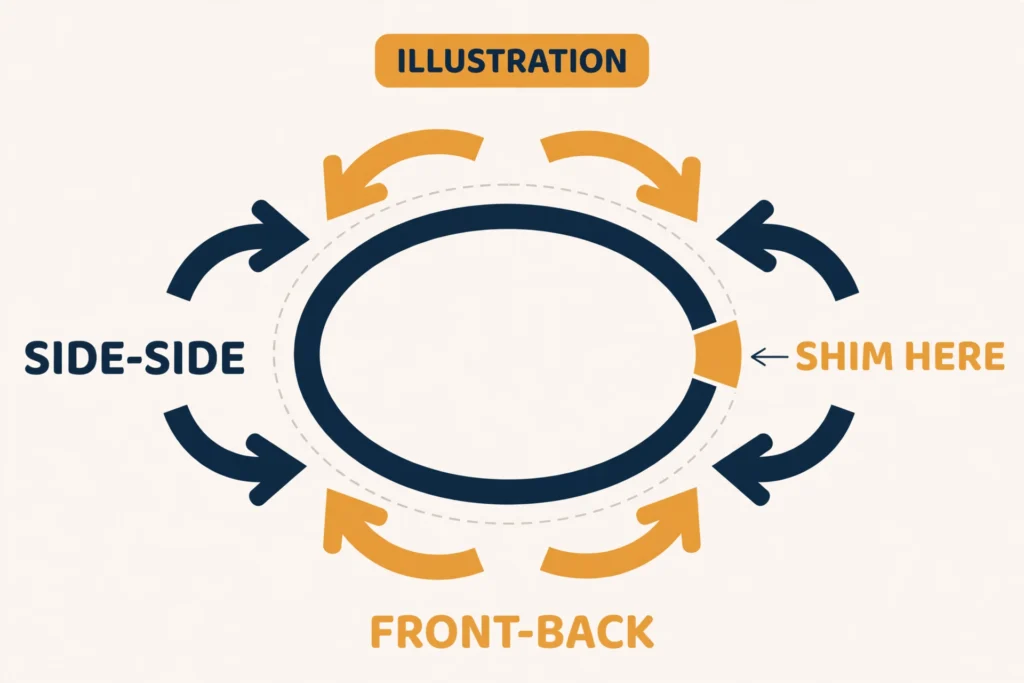
No water, firm floor, bolts intact? You’re in tighten-and-shim territory, and you can probably skip ever pulling the toilet.

Step 1 — Tighten the closet bolts (fixes most wobbles)
The two bolts at the base are the only things anchoring the toilet to the floor, and they loosen over years of micro-movement. Tightening them is free, takes five minutes, and fixes a surprising share of wobbles.
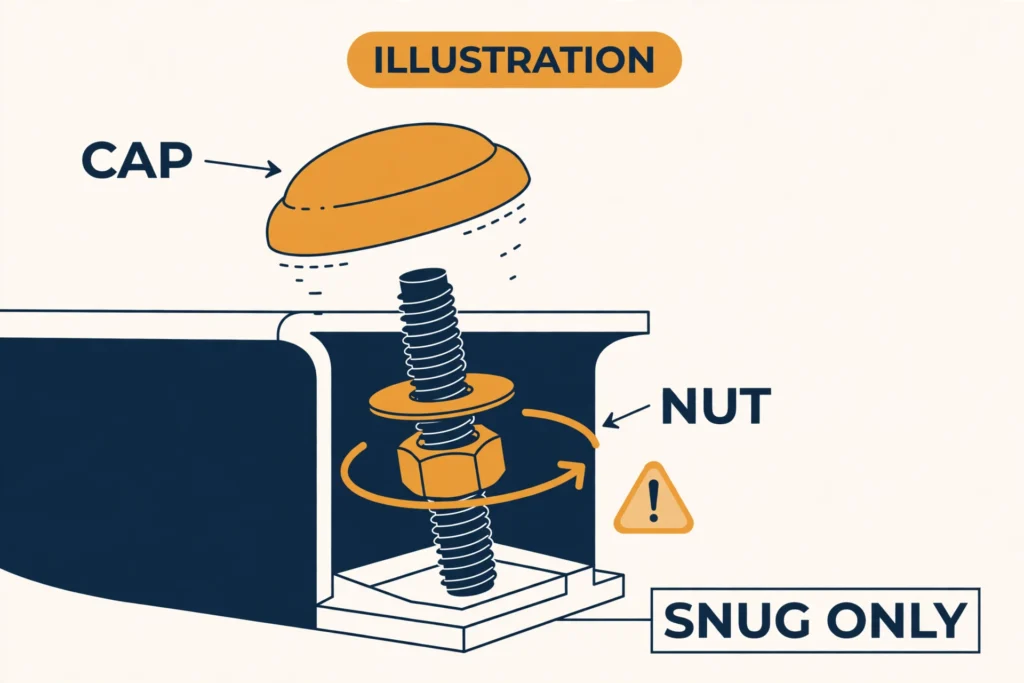
- Pop off the decorative caps at the base of the toilet.
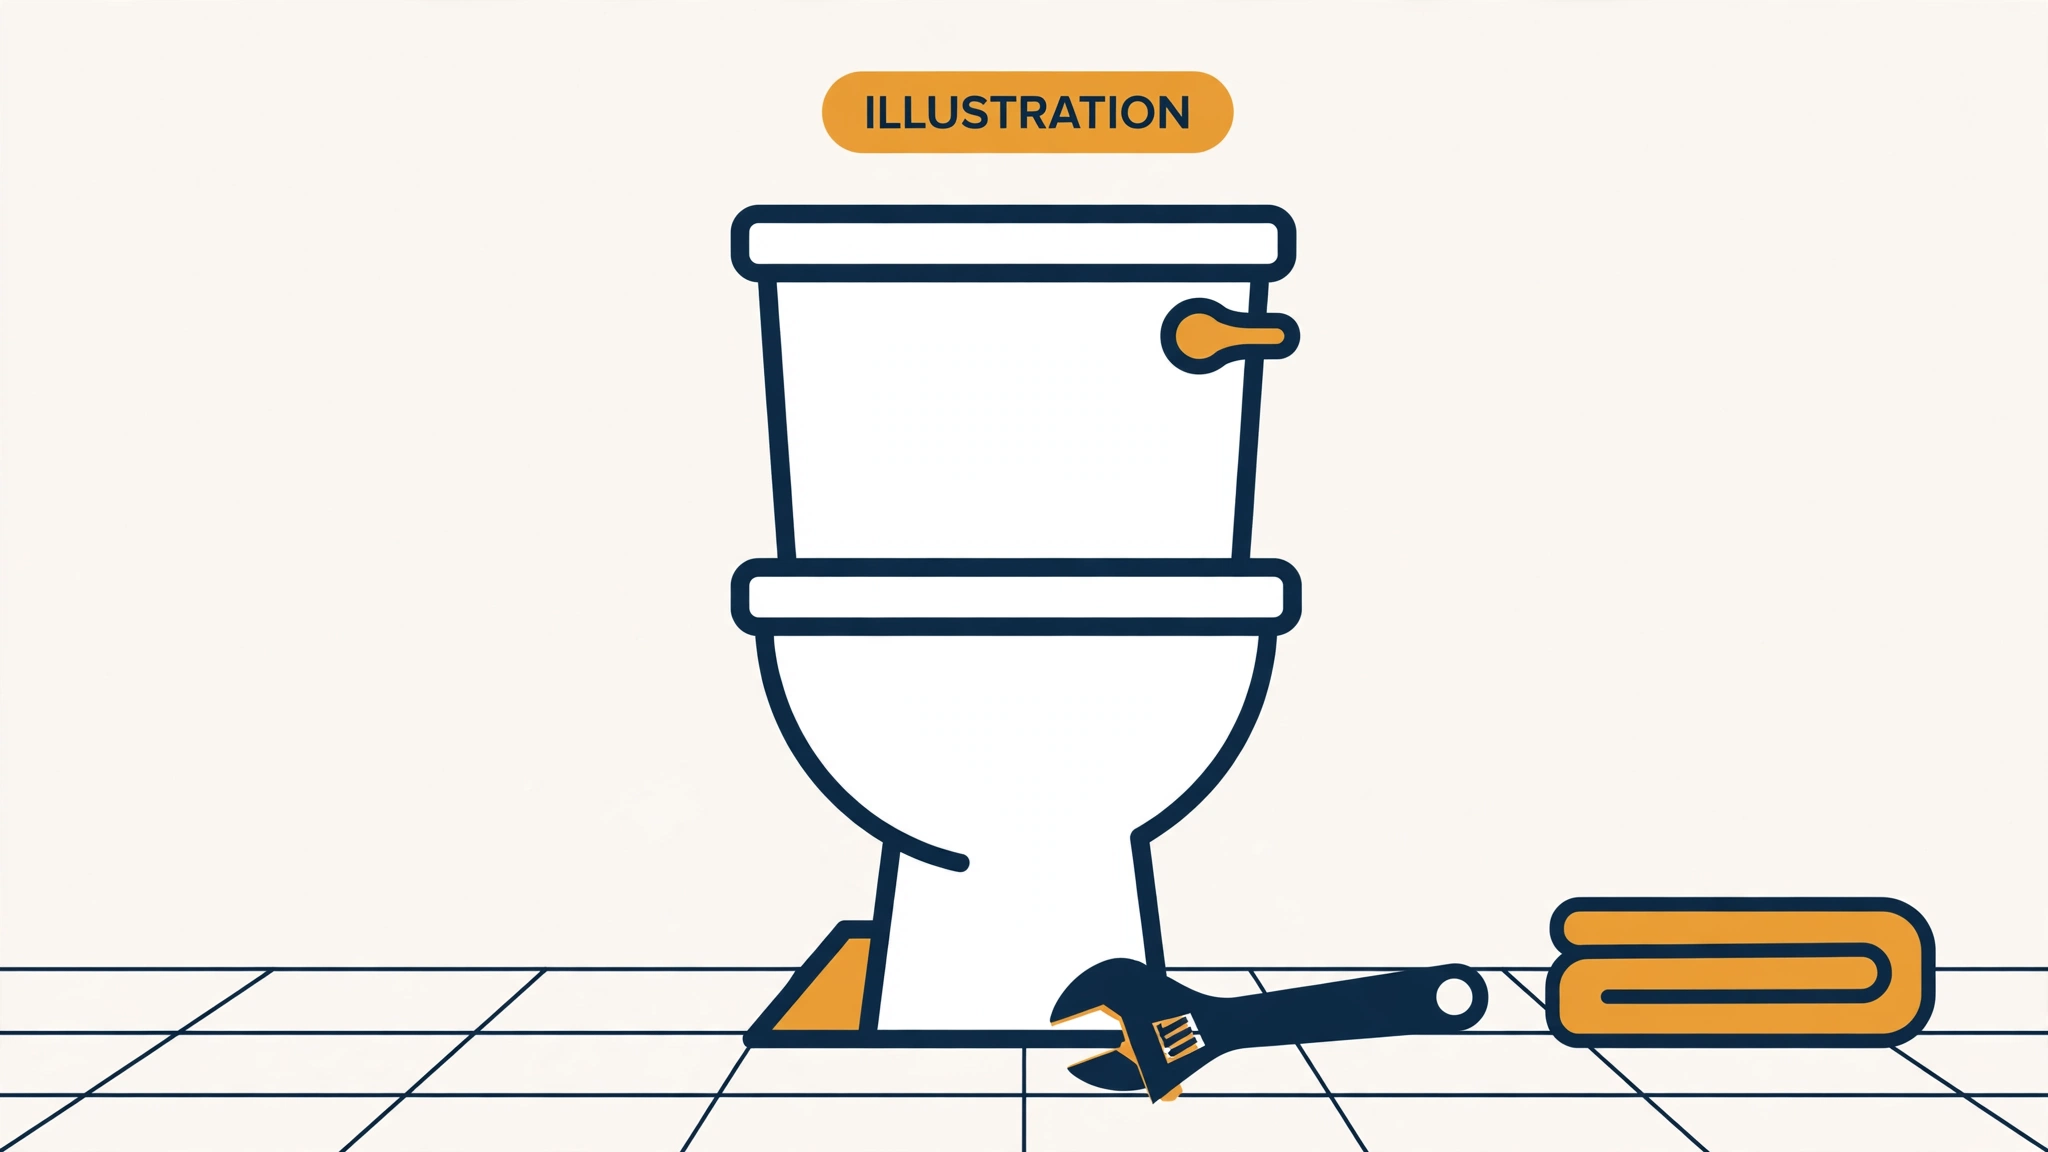
- Put an adjustable wrench on a nut and turn it a quarter-turn, then do the same on the other side. Alternate like this — never crank one side down fully before touching the other. Uneven pressure is exactly how porcelain bases crack.
- The target is snug, not tight. This Old House’s own guidance is finger-tight plus about a quarter-turn — you’re stopping the movement, not bolting an engine block. When the toilet stops rocking and the nut feels firmly seated, you’re done.
- Snap the caps back on.
If a bolt spins freely instead of tightening, the bolt isn’t gripping anything — the threads are stripped or the flange slot underneath is broken. Tightening can’t fix that; skip to the flange section.
If the wobble is gone, you’re not quite done — the base still needs caulking (Step 3). A toilet that rocks once will rock again; caulk locks your fix in and keeps mop water out of the gap.
Step 2 — Shim it (when tightening isn’t enough)
If the bolts are snug and the toilet still rocks, the floor under it isn’t flat — tile edges, a settled subfloor, or a floor built up unevenly over the years. Shims fill the gap. This is a $3 fix: a pack of plastic toilet shims from any hardware store.
Plastic or composite shims only. Wood shims rot and compress in a bathroom; rubber ones can walk out. Plastic wedges made for the job stay put and don’t absorb water.
- Rock the toilet gently and find the widest gap — that’s where the shim goes in, tapered end first.
- Push the shim in until the rocking stops. You may need two, on opposite sides, for a diagonal rock.
- Tighten the closet bolts again now that the toilet sits flat — remember, the bolts hold the toilet down, they don’t pull it flat. Shim first, snug second.
- Score the exposed shim with a utility knife and snap it off flush with the porcelain edge.
A settled floor can leave a surprisingly big gap — on one This Old House project the floor had dropped nearly half an inch in places. And shimming all the way around the base was the only way to get the toilet sitting flush. Don’t be shy about using enough shim; be shy about overtightening the bolts to compensate.
Step 3 — Caulk the base (the right way)
Caulk is the finishing move, and almost everyone does it slightly wrong in one of two ways: skipping it entirely, or sealing the whole base shut.
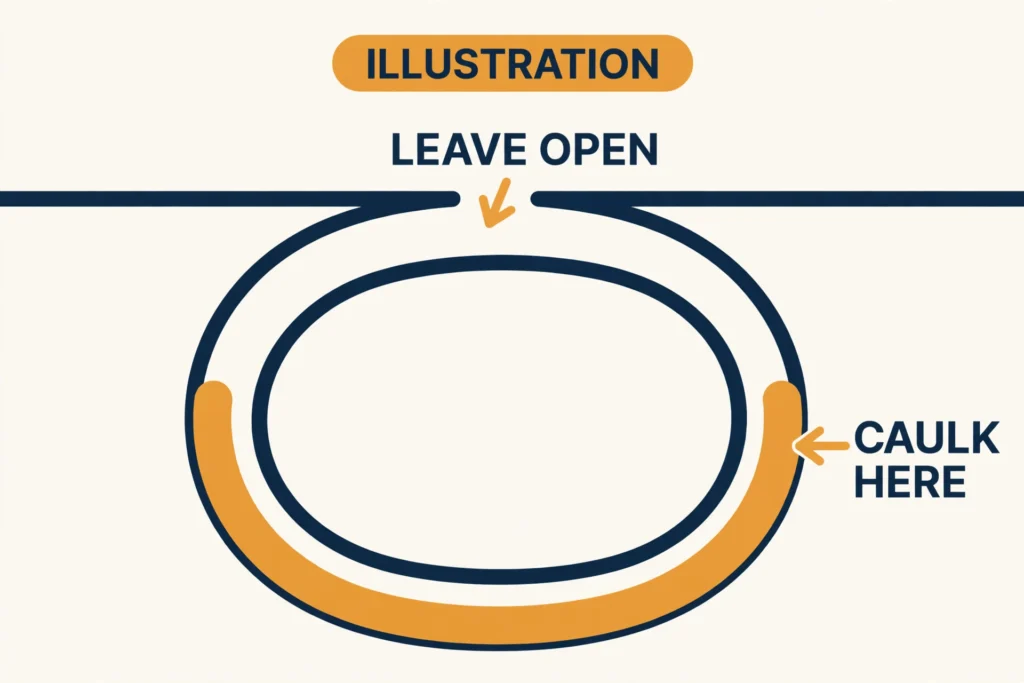
Run a bead of bathroom-grade silicone caulk around the base where the porcelain meets the floor. Silicone, not latex — it handles bathroom moisture and flexes with the house. This does three things: it locks the shims in place, it keeps mop water and spills from creeping under the bowl and rotting the subfloor, and it looks finished.
Then — and this is the part that matters — leave a gap of about an inch or two at the back, against the wall. Don’t caulk the full perimeter. That unsealed section is your early-warning system. If the wax ring under the toilet ever fails, water seeps out the back gap where you’ll see it. It won’t hide under a perfectly sealed base and rot the subfloor silently.
One thing caulk is not: a structural fix. If the toilet still rocks after tightening and shimming, caulk won’t hold it — it will just crack and hide the problem. Stabilize first, caulk second.
When the wobble means something worse
Tightening and shimming fix a loose toilet. They don’t fix what’s under a leaking one. If any of these showed up in your 60-second check, you’re past the wobble stage:
- Water at the base. The wax ring has failed. Every flush pushes water onto the subfloor now, and every rock makes it worse. The toilet has to come up.
- Sewer smell around the toilet. The seal that blocks sewer gas is compromised. Same fix: the toilet comes up.
- Soft or spongy floor. The subfloor is already rotting. Shimming a toilet onto a rotten floor is decorating a sinking ship — this needs a pro to open the floor up.
- The flange is visibly broken. Once the toilet is up, if the bolt slots in the flange are cracked off or the ring is crumbling, a repair ring (below) or a plumber’s flange replacement is next.
- The shutoff valve at the wall is corroded or won’t fully close. Don’t start a reset you can’t stop the water for. Fix the valve first — ideally with a plumber if it’s seized.
Also: if the toilet is a specialty model — wall-hung, a TOTO Washlet+ style integrated unit, or anything where the tank and bowl don’t separate normally — get a pro for the reset. Standard two-piece toilets are the DIY case.
The reset: what the job actually looks like
If the wax seal has failed, the fix is a reset: lift the toilet, replace the seal, set it back down. It’s the job the big guides lead with, and it is the right call — but only for the cases above. Here’s the honest shape of it, so you can decide whether it’s yours:
- Water off, tank drained. Close the shutoff valve, flush, then sponge out the tank and bowl. Less water = less mess and less weight.
- Disconnect the supply line from the tank with pliers or a wrench.
- Unbolt it. Remove the nuts and washers from the closet bolts. If a bolt spins, hold it with pliers from above while you turn the nut.
- Lift it off. Stand over the bowl, grip it, and lift straight up. A standard two-piece toilet runs 60–100 pounds — awkward, slippery porcelain. Get a helper; backs and dropped toilets are both expensive. Set it on an old towel or cardboard, not bare tile.
- Scrape the old wax. Putty knife the old ring off the flange and the toilet outlet. Mineral spirits cut the residue.
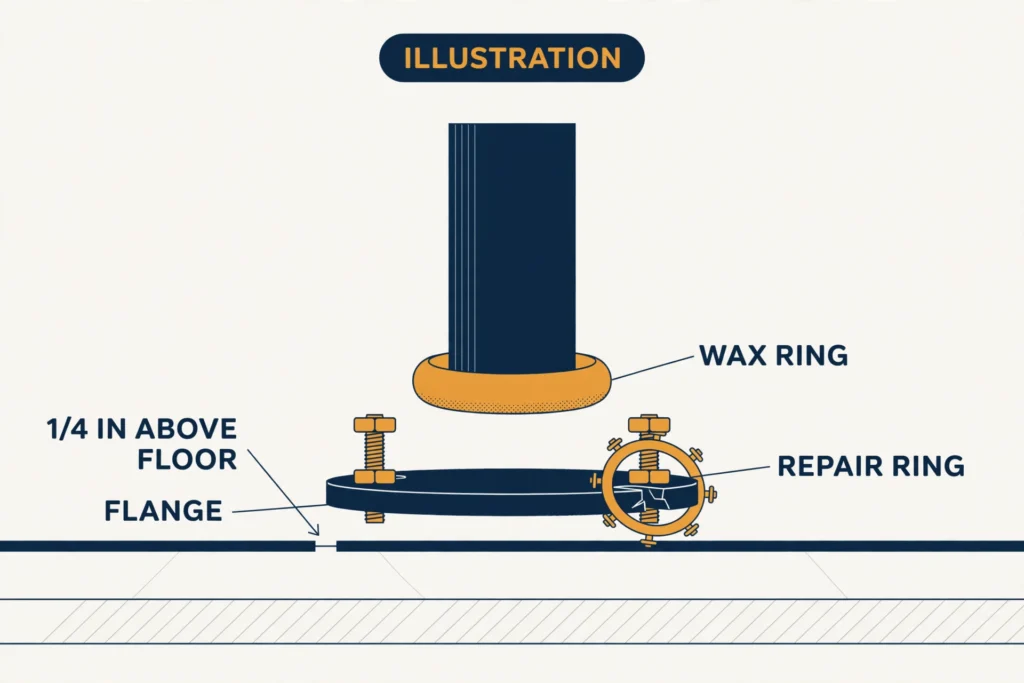
- Inspect the flange. This is the moment of truth. The flange should sit about 1/4 inch above the finished floor and its bolt slots should be intact. Cracked bolt slots? A flange repair ring — a stainless or heavy plastic ring (Oatey Fix-It and Danco Hydroseat are the common ones, roughly $10–20) — screws down over the damaged flange with four screws and a bead of silicone, giving the bolts fresh slots to grip. That’s a solid DIY save. But if the flange body is cracked, crumbled cast iron, or the screws pull out of rotten subfloor with no resistance — stop. That’s plumber territory.
- New seal, new bolts. Slide new closet bolts into the flange slots. Set a fresh wax ring ($4–16) on the flange — or a waxless silicone gasket ($8–16) if you like a cleaner, repositionable option. One ring only; doubling up wax rings is a shortcut that fails.
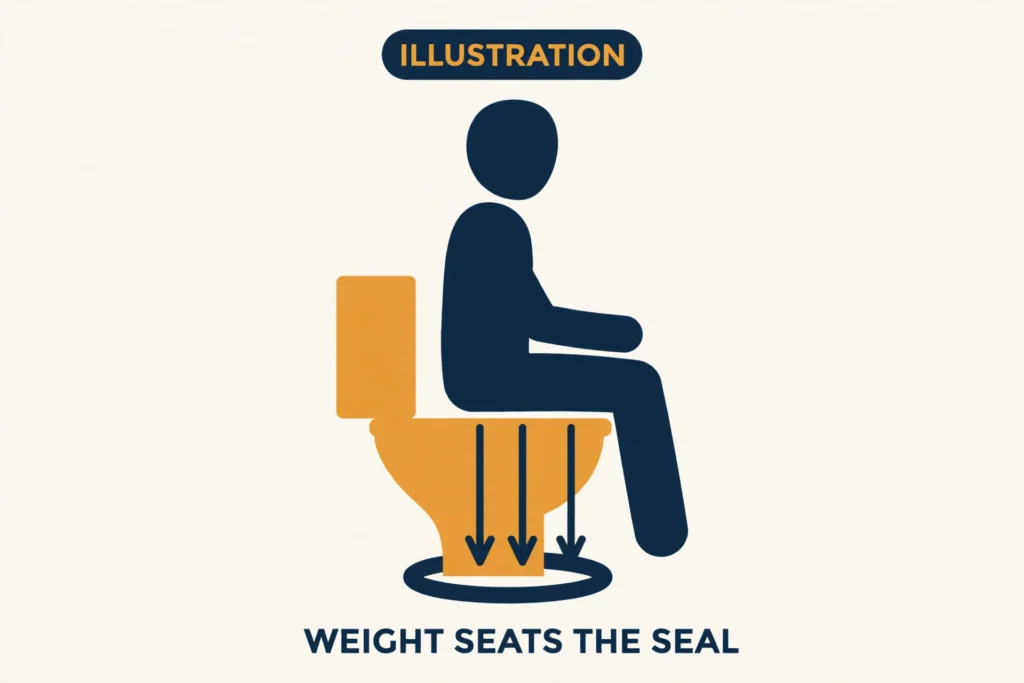
- Set it straight down. Lower the toilet over the bolts without twisting — twisting smears the wax seal. Once it’s on the floor, sit on the bowl (facing the tank) and let your weight compress the wax evenly, with a slight rock to settle it. This is the pro move the forums swear by, and it beats pressing down with your hands.
- Snug the bolts alternating sides (same quarter-turn discipline as Step 1). Trim any excess bolt length with a mini hacksaw, cap them, reconnect the water, flush, and watch the base for leaks.
- Caulk it — with the back gap, per Step 3.
Two hours, one helper, and about $10–30 in parts for most people. If that paragraph made you nervous, that’s useful information — a plumber does this exact job routinely.
Don’t do this
- Don’t crank the closet bolts. Overtightening the closet bolts is the most common cause of a cracked base — porcelain is rigid, so excess torque concentrates force at the bolt holes. Snug stops the rock; torque cracks the porcelain.
- Don’t shim with wood. It rots, compresses, and the wobble comes back — plastic or composite only.
- Don’t caulk the full perimeter. Sealing the back shut hides the exact leak you most need to see. One to two inches open at the back, always.
- Don’t use caulk as the fix. Caulk is a finisher, not a fastener. If it still rocks, it still rocks — caulk just hides it until the subfloor rots.
- Don’t stack wax rings. One ring, seated right. Doubling them up compresses unevenly and can squeeze wax into the drain.
- Don’t twist the toilet onto the new seal. Straight down, then settle with your weight. Twisting smears the wax and ruins the seal you just bought.
- Don’t lift it alone. 60–100 pounds of awkward porcelain over a hard floor. A helper is cheaper than a cracked bowl or a thrown back.
What this costs
Scope: US national, October 2026 retail pricing. DIY = parts only; pro = typical visit.
| DIY | Plumber | |
|---|---|---|
| Tighten the bolts | $0 — a wrench you own | Not worth the visit alone |
| Shims + caulk | $10–15 (shims ~$3–6, silicone caulk ~$6–9) | Bundled into a service call |
| Full reset (new wax ring + bolts) | $10–30 in parts, ~2 hours | $150–300 typical visit |
| Reset + flange repair ring | $25–50 in parts | $300–500+ with flange work |
Pro bands from 2026 guides: wax-ring resets run $150–300 (thepricer, Aug 2026) to $150–350 (allproservicegroup, 2026); Angi lists loose-toilet repairs at $50–200 and wax-ring work in the same band. The part itself is $4–16 — you’re paying for the service call, the lift, and the experience. For the full money picture on the running-toilet side of the cluster, see the running-toilet cost guide.
FAQ
Can I just caulk a wobbly toilet and call it done? No. Caulk has no structural strength — a rocking toilet will crack the caulk bead within weeks, and meanwhile the movement keeps working the wax seal loose underneath. Stabilize first (bolts, shims), caulk second.
How tight should the closet bolts be? Snug. The working rule from the pros: finger-tight plus about a quarter-turn, alternating sides. If the toilet doesn’t rock and the nut is firmly seated, stop. Porcelain cracks suddenly and doesn’t forgive.
The bolt just spins — what now? The bolt has lost its grip on the flange — stripped threads or a broken flange slot. You’ll need to pull the toilet and either drop in new bolts or install a flange repair ring ($10–20) over the damaged flange. See the reset section.
Should the flange be level with the floor? Slightly above it — about a quarter-inch above the finished floor is the target. A flange sitting below floor level (common after new tile goes in) won’t let the wax ring compress properly; that’s what flange spacer kits are for.
My toilet only rocks a tiny bit. Can I ignore it? That’s exactly when to fix it — it’s a five-minute bolt tightening right now. Every rock works the wax seal a little looser, and a failed seal means water on the subfloor and a $150–300 plumber visit. Small wobbles become big jobs.
Is a wobbly toilet urgent? A dry wobble with a firm floor: fix it this weekend, no panic. A wobble with water at the base, a sewer smell, or a soft floor: that’s already a leak — prioritize it.
The short version
Most wobbly toilets are a five-minute fix: pop the caps, snug the bolts alternating sides, done. The rest need $3 shims and a bead of caulk with the back left open. Only pull the toilet when there’s water, smell, or soft floor — that’s a failed seal, and the reset is a real but very doable job. And whatever you do, don’t crank the bolts: snug is the whole game.
Part of our plumbing repairs cluster — the tighten, shim, or reset guide for a wobbly toilet.
Sources
- This Old House — How To Fix a Wobbly Toilet
- Oatey — Guide: Toilet Flange Types
- South Surrey Plumbing — Stop That Wobbly Toilet For Good
- EngineerFix — How to Fix a Rocking Toilet and Prevent Leaks
- Sensible Digs — How to Replace Wax Ring on Toilet
- The Pricer — Cost to Replace Toilet Wax Ring
Last verified: October 2026.