DIY Plumbing Repairs: The Complete Homeowner’s Guide
Quick answer: Most fixture-level repairs — running toilets, dripping faucets, slow drains, loose P-traps — are DIY-friendly, cost $5–30 in parts, and take under an hour. Anything behind a wall, anything involving gas, and anything your city requires a permit for belongs to a licensed plumber. This guide shows where that line is, what each repair costs DIY versus pro (October 2026 prices), and where to go next for instructions.
Water has a way of announcing problems at the worst possible moment. The toilet starts running at midnight. The kitchen faucet develops a drip-drip-drip that you swear gets louder after dark. A puddle appears under the bathroom sink and you have no idea how long it’s been there.
Here’s the good news, and it’s the reason this site exists: a surprising share of home plumbing problems are simple, cheap, and well within reach of a first-time homeowner. A running toilet is very often a $5–12 flapper and ten minutes. A dripping faucet is usually a $10–20 cartridge and a wrench. The plumbing industry doesn’t advertise this loudly, for obvious reasons — a plumber’s visit starts at $100–250 before any work happens (Angi’s 2026 national data). A routine repair typically lands between $150 and $391, averaging $271 (Angi, July 2026).
The catch is knowing where DIY ends. Plumbing is the one home-improvement category where a confident mistake can do five figures of damage — water doesn’t negotiate. So this guide starts with the line, then the knowledge, then the repairs. Read the first two sections once and you’ll be better prepared than most homeowners ever get.
How your home’s plumbing actually works (60 seconds)
Every house has two plumbing systems, and they do opposite jobs.
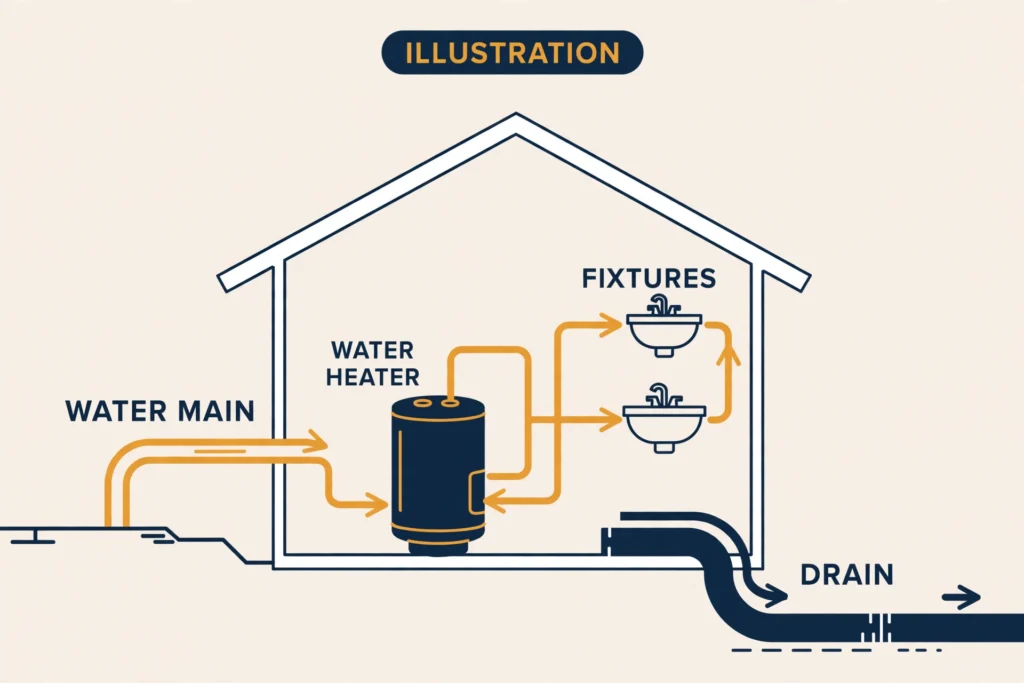
Supply brings clean water in under pressure. From the street or a well, it runs through a main line, past your main shutoff valve, to the water heater (which splits off the hot side). Water runs out to every faucet, toilet, and appliance.
Drain-waste-vent (DWV) carries used water out by gravity. It runs down through drain pipes, kept from stinking up your house by P-traps and vent pipes through the roof. P-traps are those U-shaped bends under sinks that hold a water seal against sewer gas.
That’s the whole mental model. Supply = pressure = shut the water off first. Drain = gravity = find where it’s wet and tighten, reseat, or replace.
Know your shutoffs before you need them
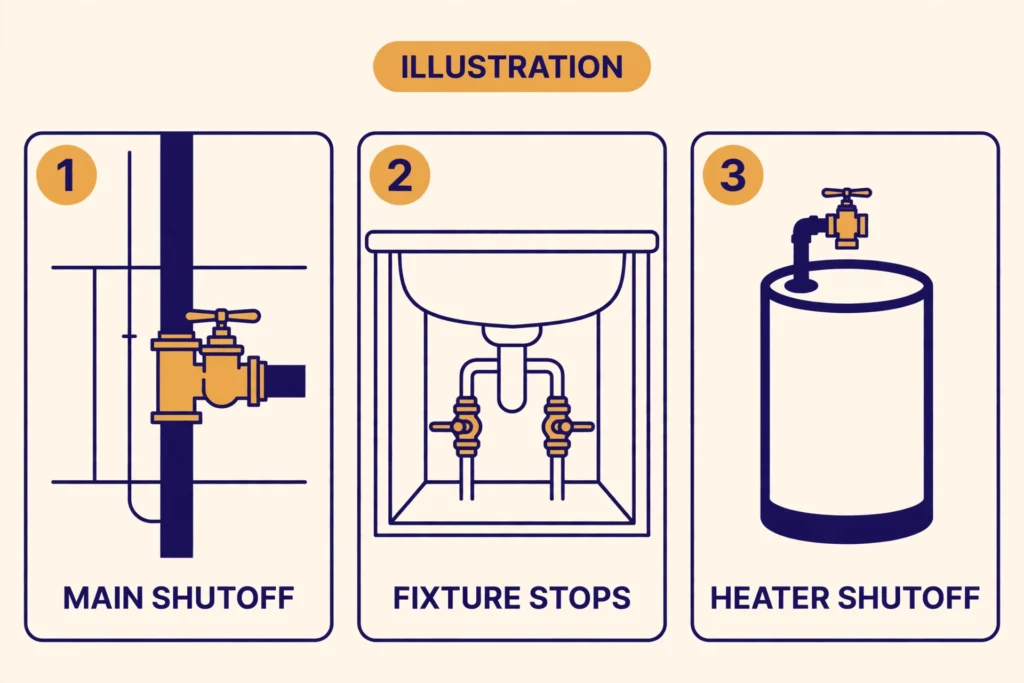
This is the single highest-value five minutes in homeownership. Go find these three things today, not when water is spraying:
- Main shutoff. Usually where the water line enters the house — basement wall, crawlspace, utility closet, garage, or an exterior box near the street. Turn it a quarter-turn (ball valve, with a lever handle) or several turns (gate valve, round wheel) to kill water to the whole house. If it’s stiff or corroded, don’t force it — that’s a plumber’s job, and finding out now beats finding out during a leak.
- Fixture shutoffs. The small valves under every sink and behind every toilet (called angle stops). These let you isolate one fixture without killing the whole house. Old ones seize up; if yours don’t turn easily, plan to replace them before an emergency — there’s a full guide coming in this cluster.
- Water heater shutoff. A valve on the cold-water line going into the tank. Know where it is. If the tank ever leaks, this plus the main buys you time.
One habit to build: before any plumbing repair, shut off the water to that fixture and test that it’s actually off (open the faucet — nothing should come out). Every guide in this cluster repeats this because skipping it is how small jobs become insurance claims.
The DIY-or-pro line: a framework, not a feeling
Forget “am I handy enough?” Ask these questions in order. The first “yes” decides it.
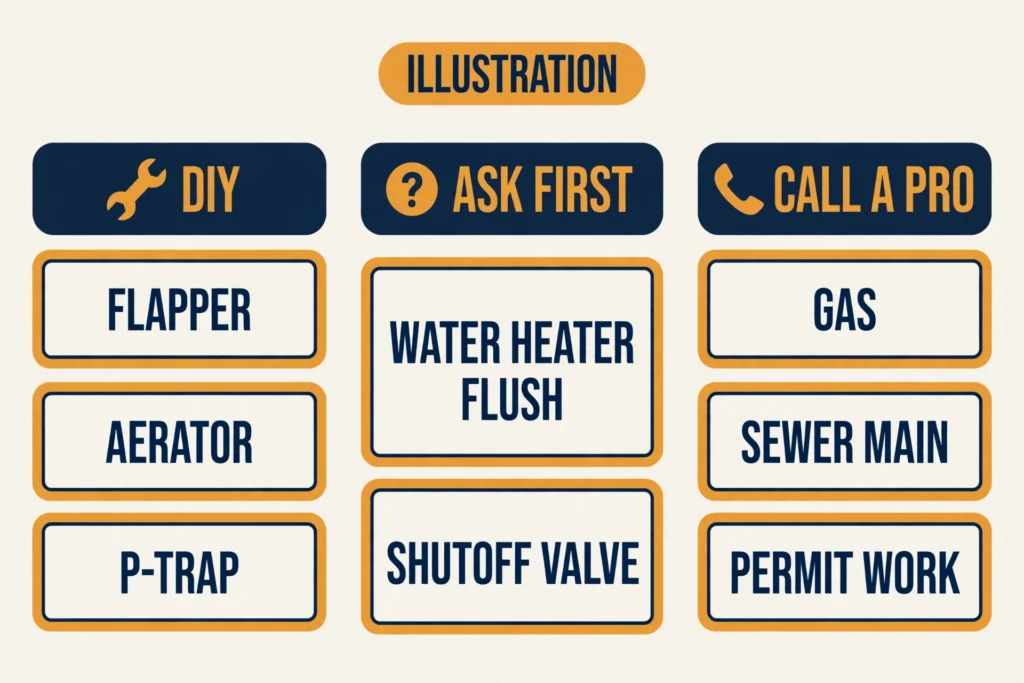
Call a licensed plumber if ANY of these are true:
- The work is behind a wall, under a slab, or underground (supply lines, sewer mains, slab leaks). You can’t see what you’re doing, and mistakes hide until they’re expensive.
- It requires a permit in your area — water heater replacement, repiping, moving or adding drain lines, new fixture rough-ins. Permit rules vary by city, so check with your city’s building department before you start — it takes five minutes.
- It involves gas — gas water heaters, gas lines, anything with a gas connection. This site gives zero DIY instructions for gas work, ever. Full stop.
- The main shutoff doesn’t work or a valve is frozen/corroded shut. Forcing it can snap a pipe.
- There’s sewage involved beyond a simple drain clog — sewer backups are a health hazard, not a DIY project.
DIY it if ALL of these are true:
- The repair is at the fixture level — the parts you can see and touch: toilet tank internals, faucet cartridges and aerators, P-traps, supply lines at the fixture, disposal resets.
- You can shut off the water to that fixture (or the whole house) first.
- The worst realistic failure is a small, visible leak you can catch with a bucket and a towel — not a hidden flood.
The gray zone — DIY only with conditions:
- Flushing a water heater is fine on an electric unit you can fully power down. But old tanks can develop leaks after flushing, and plastic drain valves crack. Our dedicated guide covers the honest risks.
- Replacing a fixture shutoff valve: straightforward with push-fit fittings, but if the pipe behind it is corroded, stop and call a pro.
- Anything where you feel unsure: a $150 service call is always cheaper than a $5,000 water-damage restoration. Uncertainty is data — listen to it.
A note on older homes
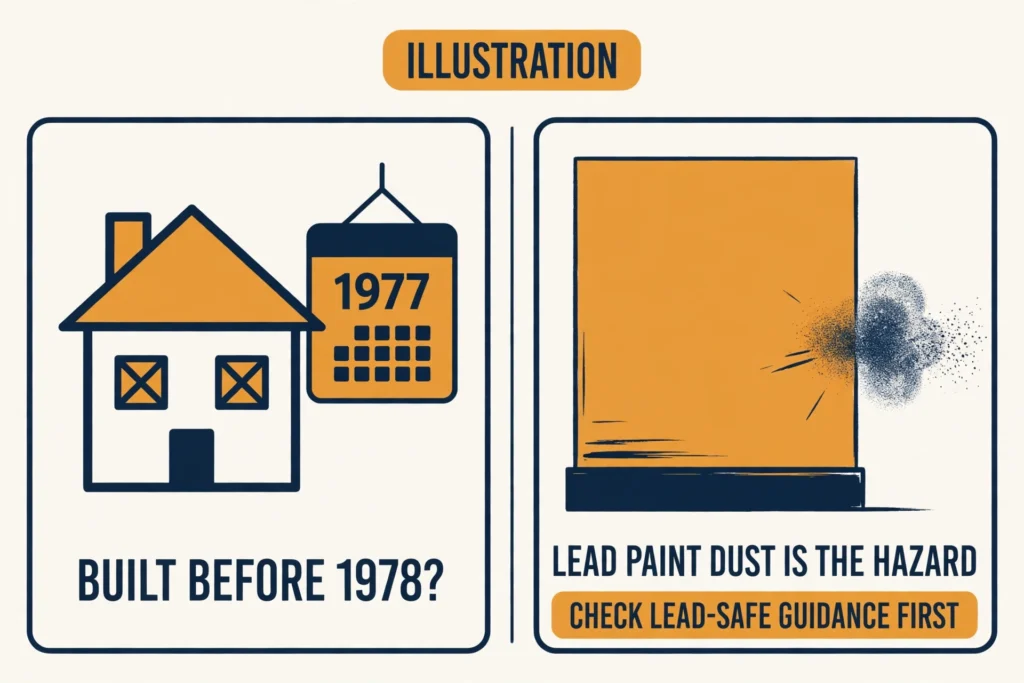
The EPA’s lead-safe renovation rules (the RRP rule) cover paid work that disturbs painted surfaces in pre-1978 homes. They generally do not cover a homeowner doing the work in their own home, but use the EPA’s DIY lead-safe work practices and look up the EPA’s lead-safe guidance first. Lead paint dust is the hazard, not the plumbing itself. For most fixture-level plumbing work this won’t come up, but if a repair means opening up a painted wall or disturbing old paint, look up the EPA’s lead-safe guidance first.
Common repairs: what’s what, what it costs, where to go next
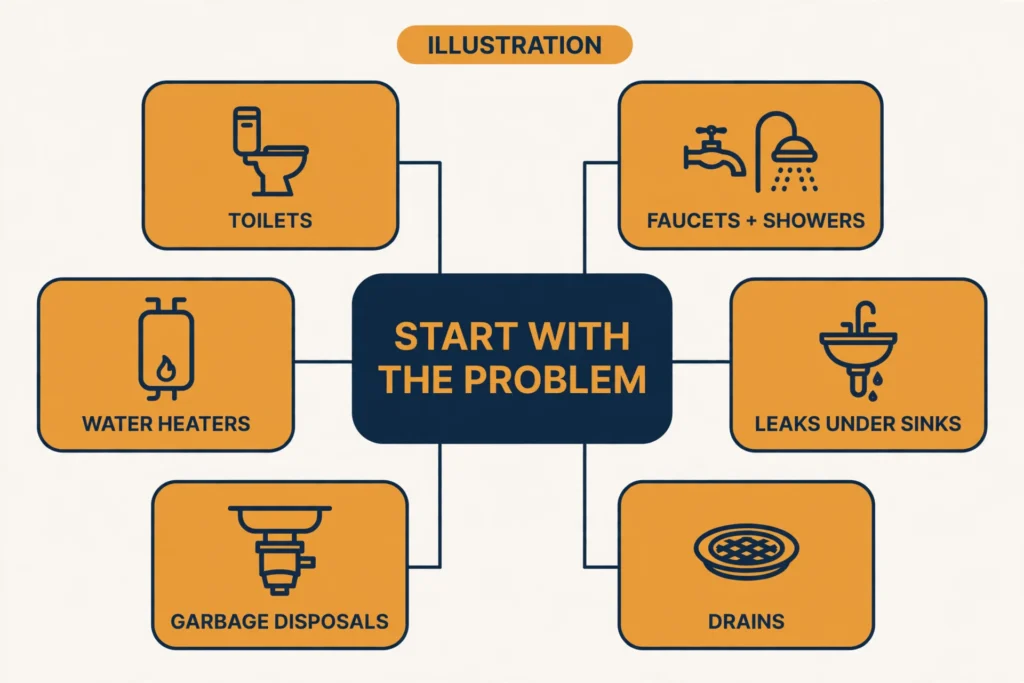
Everything below is fixture-level — firmly on the DIY side of the line. Each links to its full step-by-step guide in this cluster.
Toilets
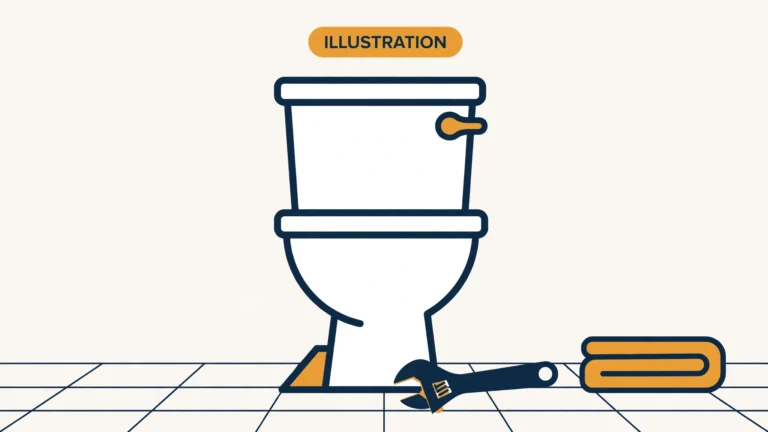
The toilet is the best beginner plumbing project in the house. Everything happens in the tank, in plain sight, with cheap parts.
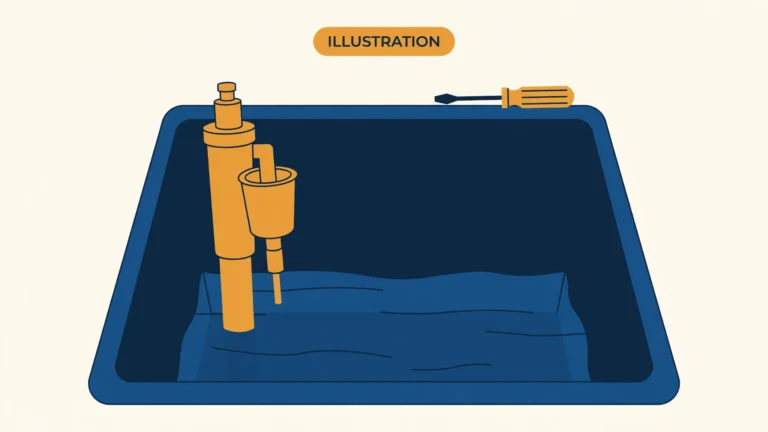
- Running toilet — usually a worn flapper ($5–12) or a tired fill valve ($8–25); a complete tank rebuild kit runs about $20. Diagnosis takes five minutes: the food-coloring test (dye in the tank, color in the bowl = bad flapper) tells you exactly which part to buy. A running toilet can waste up to 200 gallons a day, so this one pays for itself fast. → Full guide: diagnose a running toilet in 5 minutes
- Toilet won’t flush — almost always the chain, the flapper, or a clog; rarely the catastrophe it feels like. → Full guide: toilet won’t flush
- Wobbly toilet — tighten, shim, or reset; the trick is knowing which one yours needs before you start unbolting things. → Full guide: fix a wobbly toilet
- What it costs either way — the most common toilet repairs run $5–25 DIY versus $100–400 for a plumber’s visit. → Full cost guide: what a running toilet costs to fix
Faucets and showers
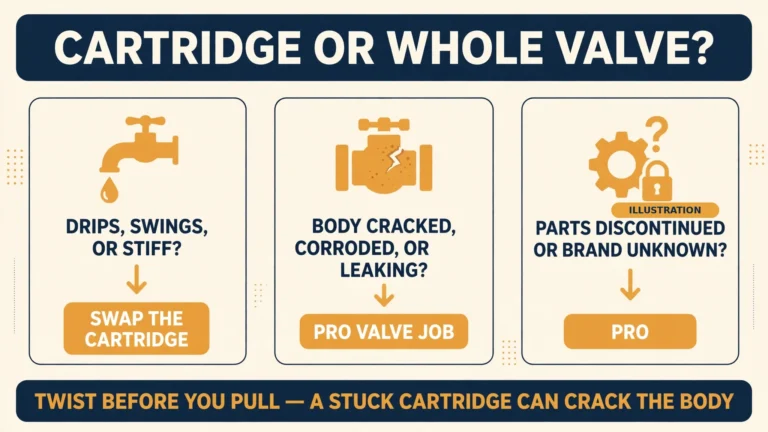
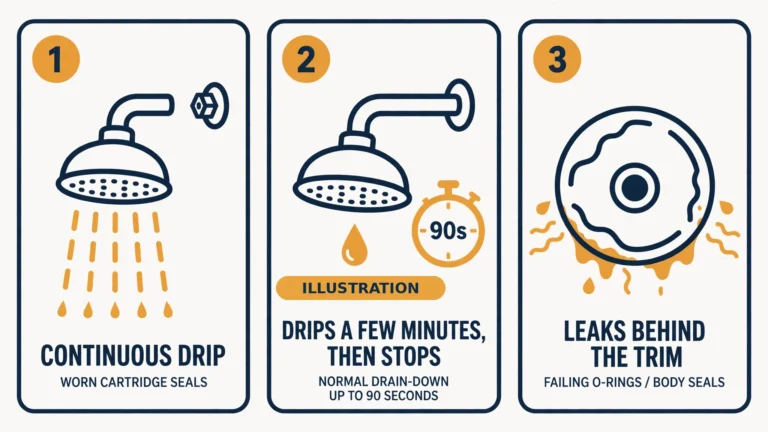
A dripping faucet is usually a worn cartridge or washer — a $10–30 part and 30 minutes. The real skill is identifying your faucet type first (compression, cartridge, ball, or disc), because the fix depends on it. Showerheads are even simpler: most unscrew by hand and the replacement threads on with plumber’s tape. Full diagnosis-first guides for both are coming in this cluster (Days 8–12).
Leaks under sinks
First question: where is it wet? Drain-side leaks (P-traps, slip nuts) drip and are forgiving — often fixed by hand-tightening or reseating a washer. Supply-side leaks (braided lines, compression fittings) are pressurized — shut the angle stops first, then repair. A P-trap reseat costs $0–10 in parts versus $150–300 for a pro visit. Full guides: leaky pipe joints (Day 13), P-traps (Day 15), supply lines (Day 25), shutoff valves (Day 26).
Drains
Start gentle and escalate: remove and clean the stopper → plunger (sealing the overflow first on tubs — the trick the thin guides skip) → plastic drain snake → metal auger. Skip chemical drain cleaners — they rarely clear real clogs, they can damage pipes and finishes, and they turn a plumber’s job hazardous if you give up and call one. Full guides: bathroom sink drains (Day 18), slow tubs (Day 19), using a drain snake (Day 20), smelly drains (Day 21).
Garbage disposals
A dead disposal is very often just the reset button underneath (30 seconds, $0). A jammed one usually yields to the hex wrench in the bottom socket — with the power off at the breaker first. Leaks from the bottom, though, mean the unit’s seals are gone: that’s a replacement, not a repair. Full guides: reset (Day 22), unjamming safely (Day 23), bottom leaks (Day 24).
Water heaters (read carefully)
Water heaters deserve respect: they combine water, pressure, heat, and (for gas units) combustion. Electric-unit maintenance like flushing is DIY-able with strict power-down procedure — but flushing an old, never-maintained tank can cause a leak, and that’s an honest risk most guides skip. Anything involving the gas burner, the T&P relief valve replacement, or the tank itself: licensed pro. Full guides: flushing (Day 28), popping noises (Day 29).
The essential plumbing toolkit
You don’t need a plumber’s truck. This kit handles every repair in this cluster:
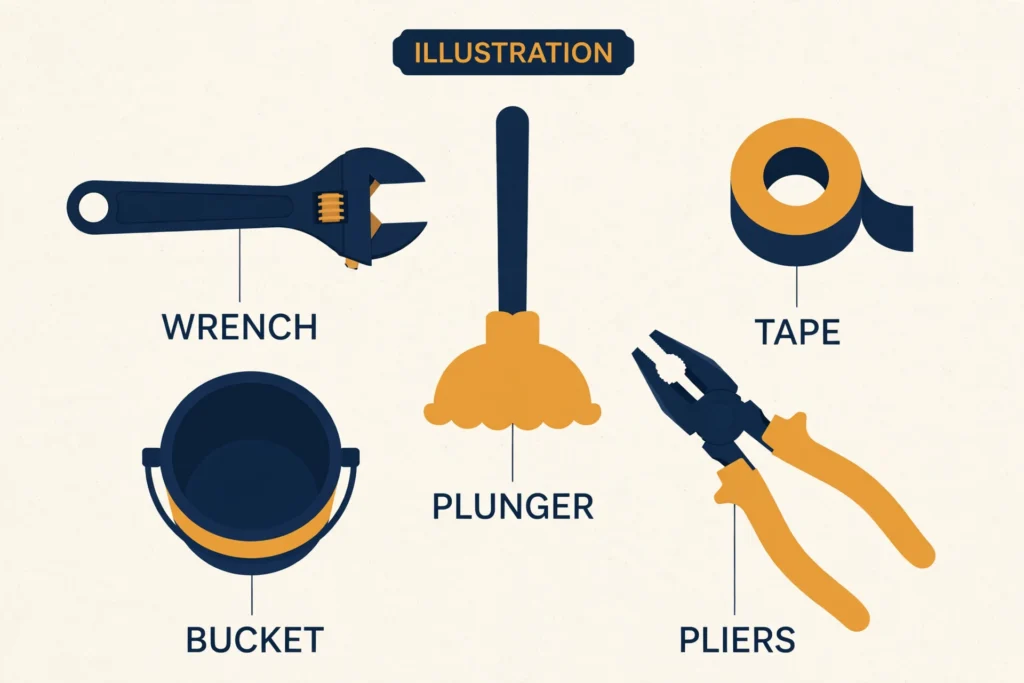
- Adjustable wrench (10-inch) — the workhorse; fits supply lines, P-traps, shower arms
- Tongue-and-groove pliers (a.k.a. Channellocks) — for the nuts a wrench can’t grip
- Cup plunger AND flange plunger — cup for sinks/tubs, flange for toilets; using the wrong one is why plunging “doesn’t work”
- Plumber’s tape (PTFE/Teflon tape) — for threaded connections; wrap clockwise facing the threads
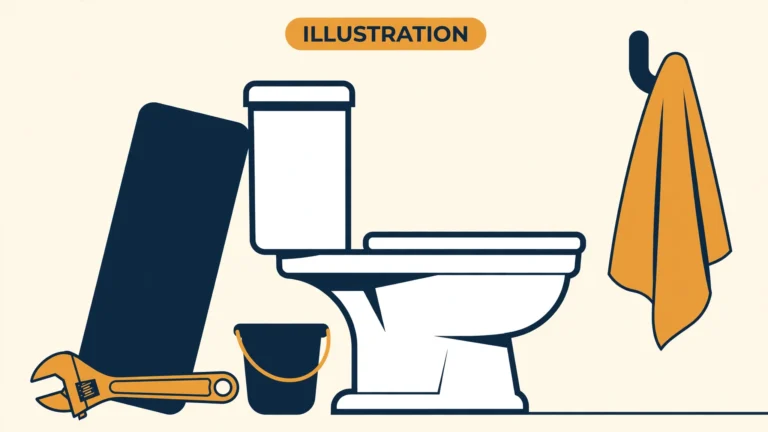
- Bucket, old towels, and a headlamp — under-sink work is dark and wet; this trio is non-negotiable
- Plastic drain snake ($5) — the barbed zip-tool that pulls hair clogs out in seconds
Total outlay if you’re starting from zero: roughly $40–60 at any hardware store, and it pays for itself the first time you don’t call a plumber. Keep a spare flapper and fill valve on the shelf too — they’re the two parts you’ll eventually need at 9 PM.
What plumbing repairs actually cost: DIY vs pro
October 2026 US prices. DIY = parts only (your labor is free); pro = typical total from Angi’s 2026 national data and trade aggregators.
| Repair | DIY parts | Pro visit | The math |
|---|---|---|---|
| Running toilet (flapper/fill valve) | $5–25 | $100–400 | The classic: a $12 part vs a $200 visit |
| Dripping faucet (cartridge) | $10–30 | $125–350 | Identification is the hard part, not the fix |
| P-trap reseat under sink | $0–10 | $150–300 | Often literally hand-tightening |
| Toilet supply line | $8–15 | $150–300 | 15-minute swap once you know how |
| Garbage disposal reset | $0 | $100–250 | The reset button is free; the visit isn’t |
The pattern: fixture-level repairs cost 5–15× more through a pro, almost entirely in the $100–250 service call fee plus $45–200/hour labor. That’s not price-gouging — it’s a licensed professional’s truck, insurance, and expertise. It’s just rarely necessary for a flapper.
What moves a pro quote up: emergency/after-hours calls (1.5–3× standard rates — a genuine reason to learn the shutoffs), difficult access, and older corroded plumbing that fights back. Get 2–3 written quotes for anything over a few hundred dollars, and schedule non-urgent work during business hours.
The 5 mistakes that cause the most damage
- Not shutting off the water first. Every flood story starts here. Shut it off, then open the faucet to confirm it’s actually off. Thirty seconds.
- Overtightening plastic fittings. P-trap slip nuts and supply-line connectors need hand-tight plus a quarter-turn — cranking them cracks the nut and causes the leak you were fixing. This is the #1 beginner error.
- Chemical drain cleaners as plan A. They seldom clear real clogs, they can etch finishes and weaken pipes, and they make the eventual pro visit dangerous. Mechanical first, always.
- Ignoring a small leak. A damp cabinet floor is a slow-motion disaster — particleboard swells, mold grows, and a $10 washer becomes a $500 cabinet repair. If it’s wet, it’s urgent.
- Forcing a stuck valve. A corroded shutoff that won’t turn is telling you it needs replacing — forcing it snaps the stem or the pipe behind it. Penetrating oil, patience, or a plumber.
FAQ
Can I really do my own plumbing, or do I need a license? For fixture-level repairs in your own home — replacing a flapper, a faucet cartridge, a P-trap — yes, in the vast majority of US jurisdictions. Licenses and permits enter the picture for work behind walls, water heater replacement, repiping, sewer work, and anything gas. When in doubt, your city’s building department answers in minutes.
What’s the very first thing I should learn? Where your main water shutoff is. Everything else in this guide assumes you can stop the water. Go find it today — it takes five minutes and it’s the difference between a mop-up and a catastrophe.
How do I know if a leak is an emergency? Supply-side leak you can’t stop (spraying, or the shutoff won’t hold) = emergency, call now. Drain-side drip into a bucket = urgent but schedulable during business hours — which saves you the 1.5–3× after-hours premium.
Why does my toilet keep running even after I replaced the flapper? Usually the fill valve — either the water level is set too high (water pouring into the overflow tube) or the valve itself is worn. The 5-minute diagnosis guide walks through the exact checks in order.
Are universal parts actually universal? Mostly. A universal flapper fits the large majority of 2-inch flush valves, and universal fill valves adjust to most tanks — but some brands (Kohler, Toto, Mansfield) use proprietary designs. Check your toilet’s model number (stamped inside the tank) before buying, and our flapper guide covers the 2″ vs 3″ sizing question.
When should I just call a plumber and stop reading? Sewage backup, burst pipe you can’t isolate, no water to the whole house, gas smell near any appliance, water heater leaking from the tank itself, or anything where you’ve tried the reasonable fix and it’s getting worse. There’s no shame in it — knowing when to call is part of DIY.
This is the hub page for our plumbing repairs cluster — every guide linked above goes deeper on one repair, with full steps, real part numbers, and 2026 cost breakdowns. New guides publish weekly; the page updates as the cluster fills.
Sources
- Angi — How Much Does Plumbing Repair Cost? [2026 Data]
- EPA Renovation, Repair, and Painting (RRP) Rule
- DealNews — Fluidmaster Pro fill valve $11.98 at Home Depot
- Home Depot — PerforMAX fill valve $14.98
- DealNews — full 2-inch kit $19.99
- https://www.angi.com/articles/how-much-should-toilet-repairs-cost.htm
Last verified: October 2026.