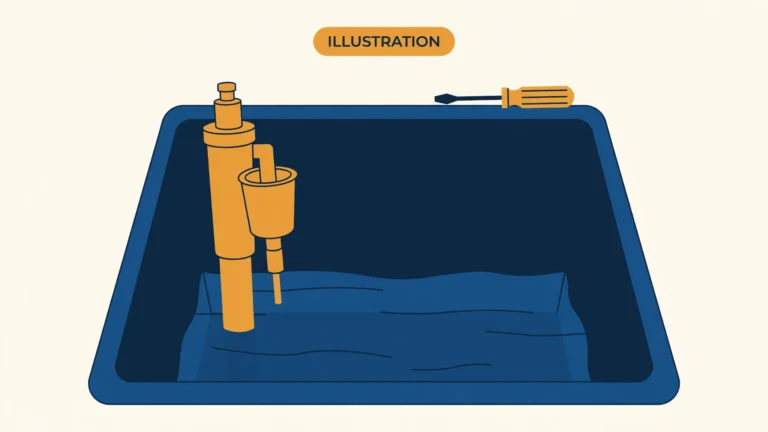

How to Fix a Running Toilet (5-Minute Diagnosis)
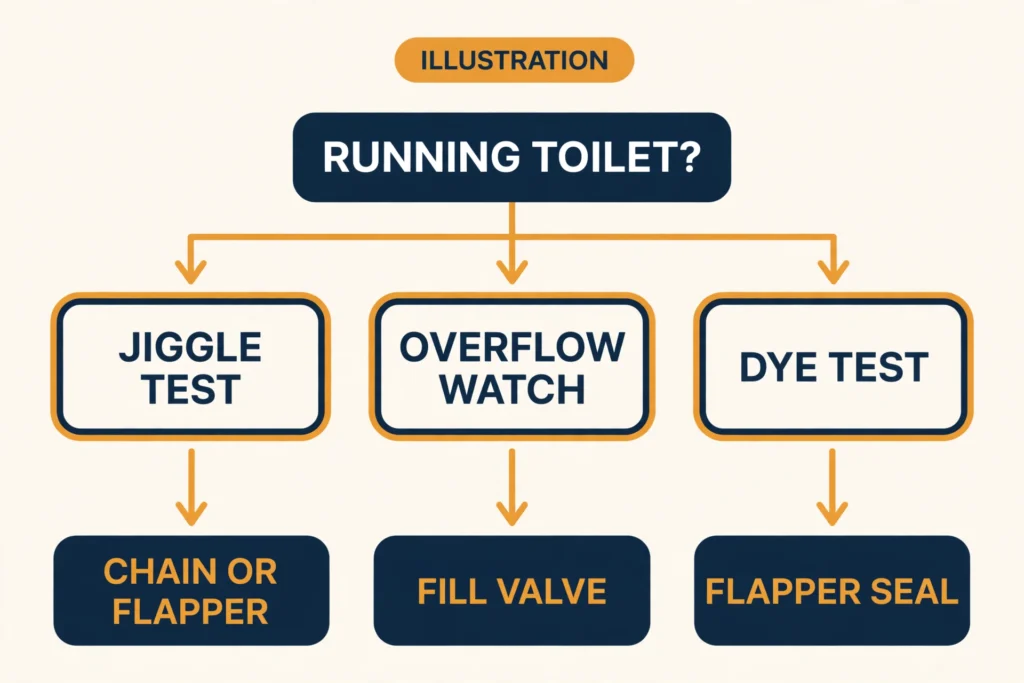
Quick answer: A running toilet is almost always one of three things: a chain holding the flapper open, a worn flapper that won’t seal, or a fill valve that never shuts off. Three tests — jiggle the handle, watch the overflow tube, drop food coloring in the tank — tell you which one in under five minutes. Then you buy exactly one part ($5–25), not three.
The sound is unmistakable: that faint hissing from the bathroom at 1 AM, or the tank refilling for no reason. The toilet runs so constantly you stop hearing it until the water bill arrives. A silent flapper leak wastes a steady amount of water every day; a toilet that never stops running can waste up to 200. That’s not a nuisance — it’s money running down the drain, and it’s usually a $5–25 part away from fixed.
Most guides hand you all the fixes at once — replace the flapper! adjust the fill valve! — which is why people make two hardware-store trips. This one works the other way: diagnose first, buy once. Five minutes of looking beats an hour of guessing.
One important split before you start: this page is for a toilet that won’t stop running — water flowing when it shouldn’t be. If your toilet won’t flush at all, that’s a different problem with a different diagnosis (full guide: toilet won’t flush). The symptoms sound similar; the fixes are not.
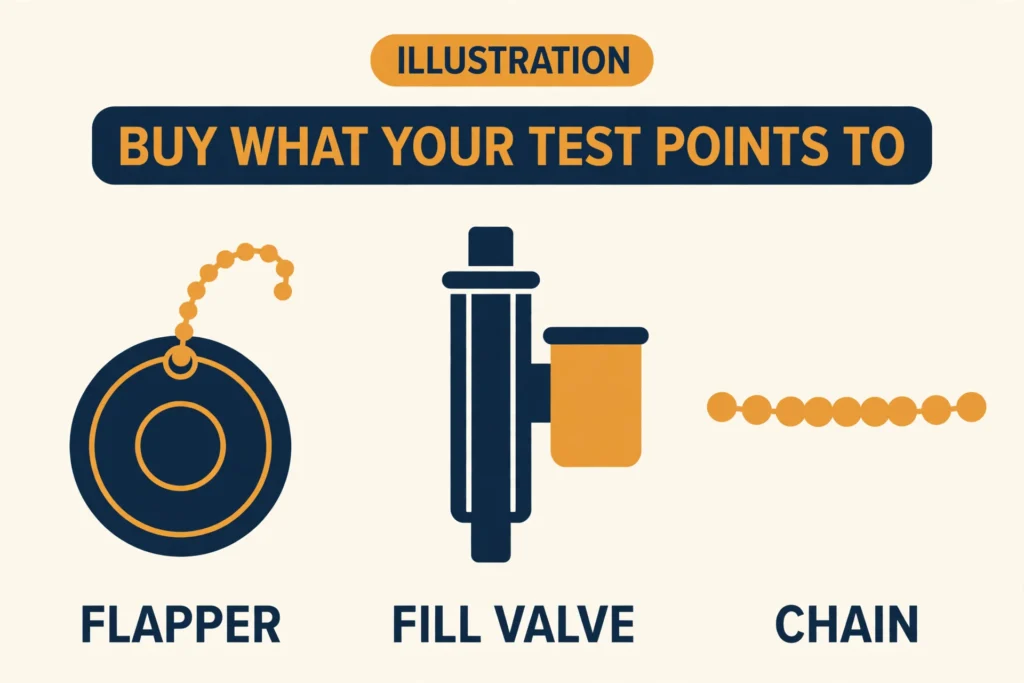
Your diagnosis → your exact next step
Here’s the whole point of the five minutes. Find your row:
| What you found | What’s wrong | What to buy | Where the full steps live |
|---|---|---|---|
| Jiggling stopped it / chain too tight or tangled | Chain | Nothing — re-hook with ~½” slack | Quick fix, covered below |
| Water flowing into the overflow tube | Fill valve set too high, or worn out | Nothing yet — try adjusting first; a new fill valve is $8–25 if adjustment fails | Fill-valve adjustment guide |
| Dye in the bowl / level dropped with supply off / pressing the flapper stopped it | Worn flapper or bad seal | A flapper, $5–12 (one trip — match 2″ vs 3″ in the store) | Flapper replacement guide |
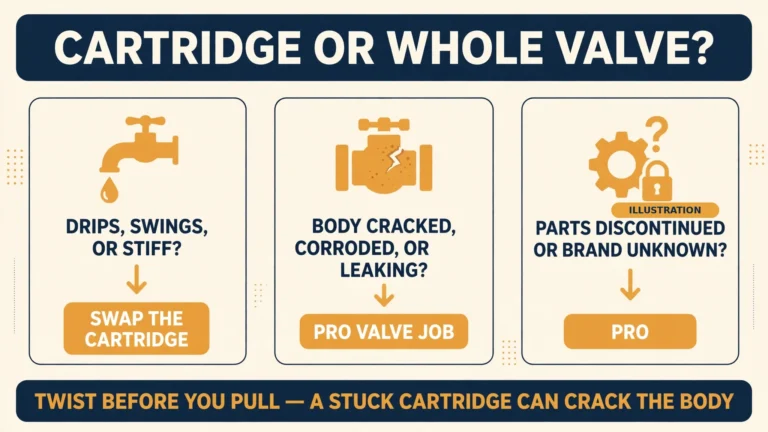
| New flapper still leaks | Flush-valve seat is nicked or corroded | Flush valve assembly, ~$20 — or call a pro | Seat-repair note below |
The seat-repair note: this is the cause people skip. If a correctly sized new flapper still fails the dye test, look at the seat the flapper rests on — nicks, mineral buildup, or corrosion keep water escaping no matter how fresh the rubber is. Light buildup can be cleaned; a damaged seat means replacing the flush valve assembly, which involves removing the tank. That’s a bigger job — an honest point at which to weigh the pro option (the cost guide breaks down the math — Day 7).
Canister-style toilets: if your tank has a tall cylinder instead of a flapper ball, the dye test still works exactly the same. And you usually just replace the seal on the bottom of the canister, not the whole unit. Proprietary systems (some Kohler, Toto, Mansfield models) use their own parts — check the model number stamped inside the tank before buying anything.
The chain fix, since it’s free: unhook the chain, clear whatever’s tangling it. Re-hook it with about half an inch of slack, and flush twice to confirm the flapper drops flat. If jiggling no longer changes anything, you’re done — no parts, no store trip.
Before you lift the lid
Three things, thirty seconds:
- Know where the toilet’s shutoff valve is. It’s the small valve on the wall or floor behind the toilet — clockwise closes it. You probably won’t need it for diagnosis, but if anything looks wrong in there, you want to know where it is before you need it. If it won’t turn, don’t force it — a snapped old valve is a plumber’s job, not a Tuesday night project.
- Lift the tank lid straight up and set it down somewhere safe — on a towel, away from foot traffic. Porcelain lids are heavy, awkward, and crack with shocking ease. This is the most commonly broken thing in toilet repair, and it has nothing to do with plumbing.
- Treat the tank water as dirty. It starts as clean supply water, but the tank collects mineral film and whatever’s floated in over the years. Gloves are reasonable. A towel on the floor is non-negotiable.
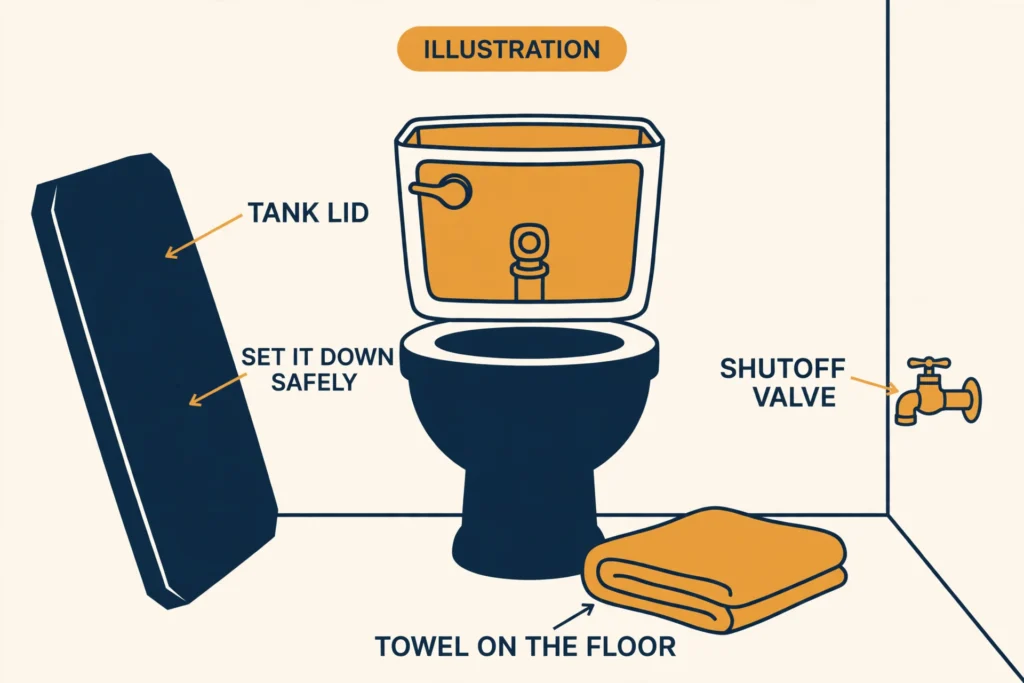
Now look inside. You’ll see some combination of: a rubber flapper (or a tall canister) in the middle, a fill valve with a float on one side, and an overflow tube. That’s the whole cast. (The labeled diagram above names each part — point at it as you read.)

The three tests, in order
Do them in this order. Each one rules something out, so by the third you have your answer.
Test 1: The jiggle test (10 seconds)
Flush once and watch with the lid off. The flapper should lift, let the tank empty, then drop back down flat onto its seat within a few seconds. Now jiggle the handle.
If jiggling stops the running: the chain is the problem. It’s either too tight (holding the flapper slightly open), tangled, or catching on something — a cleaning-tablet cage, an extra link wedged under the flapper, a clip that shifted. Look at the chain: you want about half an inch of slack — a small “J” shape when the flapper is closed, per Fluidmaster’s instructions. (Korky describes the same idea as one or two links of slack.) Too tight runs; way too loose weakens the flush.
This is the most skipped cause in existence. People buy a new fill valve when the fix was re-hooking a chain — a zero-dollar repair. Check this first, every time.
Test 2: The overflow watch (30 seconds)
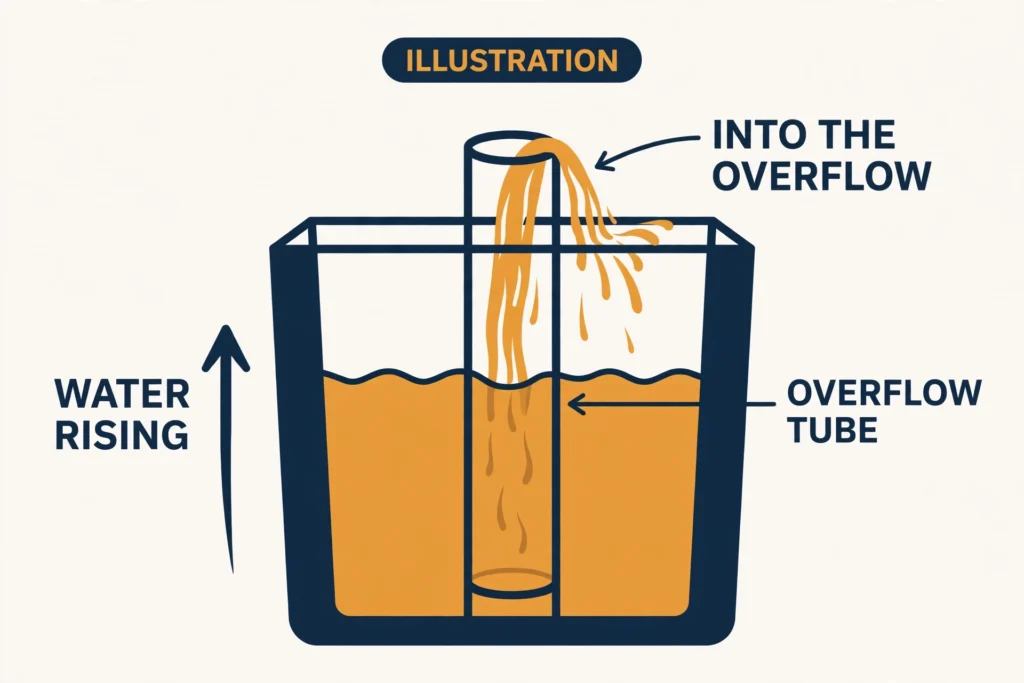
Look at the overflow tube — the open-topped pipe in the middle of the tank. Is water flowing into it while the tank looks full?
The target level is about ½ to 1 inch below the top of the overflow tube. Fluidmaster’s 400A guide says roughly ½ inch, and Korky’s QuietFill guide says about 1 inch.
Also check the refill tube — the skinny hose from the fill valve to the overflow tube. It should be clipped at the top of the overflow with its outlet above the waterline. If it’s slipped down and sitting underwater, it can siphon water out of the tank or splash over the top, and the toilet will cycle endlessly.
Do not start with a flapper if water is visibly running into the overflow. That’s a fill-valve problem wearing a flapper costume.
Test 3: The dye test (10–15 minutes, mostly waiting)
If Tests 1 and 2 came back clean — chain fine, no water in the overflow — the leak is silent. Water is slipping past the flapper seal into the bowl so slowly you can’t see it, and the fill valve keeps topping the tank up. This is the classic “phantom flush,” the toilet that refills every few minutes for no apparent reason.
The EPA’s WaterSense leak checklist has the definitive test: put a few drops of food coloring in the tank water, then don’t flush for 10 to 15 minutes. If color shows up in the bowl, tank water is leaking past the flapper or its seal. Flush afterward so the dye doesn’t stain.
Slow-leak variant: if you suspect a very slow leak and want to be sure, there’s a second method from Fluidmaster’s own diagnostics. With a full tank, shut off the supply valve, mark the waterline with a pencil, and wait 10–15 minutes. If the level drops with the supply off, water is leaving through the flapper or flush valve. The fill valve is innocent, because it has no water coming in to “mysteriously” run on.
One more quick check while you’re here: press down gently on the flapper. If the running sound or the faint rippling in the bowl stops, the flapper isn’t seating flat — worn rubber, warping, or grit on the seat. That’s your answer.
The one-trip shopping list
Buy after the diagnosis, not before. Take this list only if your row above says you need parts:
- The part your test named: flapper ($5–12) or fill valve ($8–25). A complete 2″ tank repair kit runs about $20 if you want both on hand. (October 2026 US retail — Home Depot/Lowe’s shelf prices.)
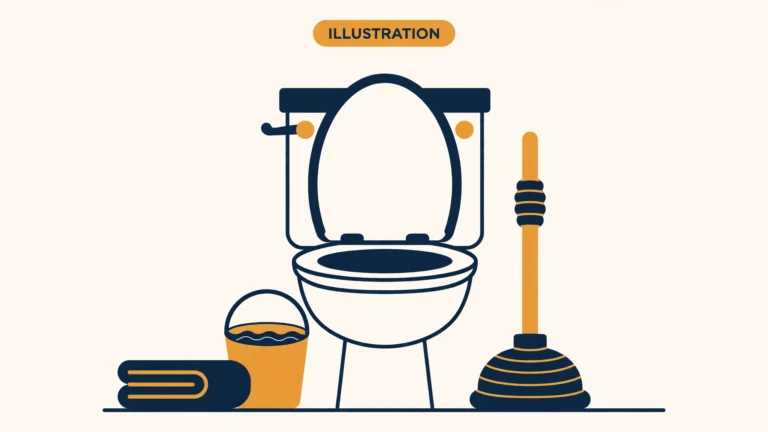
- Rubber gloves and a small bucket if you don’t own them — you’ll spill some water whenever a supply line is touched.
- Do not buy: a “universal” anything before checking sizes. The flapper guide’s sizing check (2″ vs 3″, proprietary-model warning) exists because the wrong $8 part is the second-most common wasted trip.
One more thing to leave on the shelf: drop-in tank cleaner tablets. The blue bleach pucks degrade rubber flappers and seals. Fluidmaster and Korky both warn against them — which means the tablet that “keeps the bowl clean” is quietly manufacturing your next running-toilet repair. Bowl cleaners go in the bowl, not the tank.
What this costs: DIY vs pro
The short version: $5–25 in parts DIY versus $100–400 for a plumber’s visit (October 2026 US prices). The pro side is almost entirely the $100–250 service-call fee. A flapper swap is ten minutes of labor on top of it, which is exactly why this is the highest-ROI repair in the house.
The full methodology — what’s DIY parts vs pro labor, what moves a quote up (after-hours calls run 1.5–3×), and when the pro visit is actually justified — lives in the dedicated cost guide (Day 7: what a running toilet costs to fix).
Don’t do this
- Buying parts before the diagnosis. The second hardware-store trip is the most expensive part of toilet repair. Ninety seconds of testing names the part; guessing names two or three of them.
- Starting with the fill valve. It’s the priciest part and the least likely culprit. The jiggle test costs nothing and catches the most common cause. Fill valve is Test 2’s branch, not Test 1’s.
- Forcing a stuck shutoff valve. If the supply valve behind the toilet won’t turn, that’s information, not a challenge. Penetrating oil and patience, or a plumber — snapping it turns a $12 flapper job into an emergency call.
- Ignoring it because “it’s just noise.” A silent leak is a steady amount of water every day; a constant runner is up to ~200. At typical US water rates, a running toilet can add real money to the bill every month it goes unfixed — and the fill valve is wearing itself out the whole time.
- Overtightening anything plastic. This one’s for the repair stage (the flapper and fill-valve guides repeat it): hand-tight plus a quarter-turn on plastic nuts. Cranking them cracks the part and creates the leak you were fixing.
When to call a pro
Call a licensed plumber if water is escaping onto the floor, if the shutoff won’t hold, if the supply valve snaps, or if the repair means removing the tank. Work that needs a permit, or that involves gas, needs a licensed pro.
FAQ
Why does my toilet run for a few seconds every few minutes? That’s a phantom flush — a slow flapper-seal leak. Water seeps into the bowl, the tank level drops just enough, and the fill valve tops it up. The dye test (Test 3) confirms it in 15 minutes. It’s the single most common running-toilet pattern, and it’s a $5–12 flapper.
Is a running toilet an emergency? Not usually. If water is contained in the tank and bowl with nothing on the floor, it’s urgent-but-schedulable — fix it this week, not at midnight. It becomes a call-now situation only if water is escaping onto the floor or the shutoff won’t hold.
Why does it stop when I push down on the flapper? Because the flapper isn’t seating flat on its own — worn or warped rubber, or grit on the seat. Your hand is doing the sealing the rubber can’t. Replacement is the fix (the flapper guide — Day 3); if a new flapper still leaks, read the seat-repair note above.
Can I just turn off the water to the toilet and deal with it later? You can — closing the supply valve stops the waste and the noise. It’s a fine stopgap for a few days. Don’t leave it for months; a dried-out flapper seal gets worse, and you’ll forget it’s off until someone needs that bathroom.
My toilet has a canister instead of a flapper — is the diagnosis different? No. The dye test and the overflow watch work identically. The only difference is the part: you replace the seal on the bottom of the canister rather than a flapper ball. Same tests, same logic.
The toilet runs but the tank looks low and never fills properly — same problem? Related but distinct — that pattern points to the fill valve not delivering water (clogged inlet, failing valve) rather than water escaping. The overflow-watch and dye tests still help you split it: no dye in the bowl + tank never reaching the line = fill-valve supply problem (Day 5’s guide covers it).
Part of our plumbing repairs cluster — the diagnosis-first guide for running toilets. The full step-by-step procedures live in the linked guides above; the hub page covers the whole DIY plumbing picture.
Sources
- https://www.epa.gov/watersense/fix-leak-week
- Fluidmaster — K-400H-043 fill valve + 2″/3″ Super Flapper product page
- https://manuals.plus/m/9ea1c19cdb55f3b7758892bfa8a45b0fd6600e7b63608928a2d83c8f3115853c
- https://www.korky.com/toilet-repair-help/how-to-replace-toilet-flapper
- Hunker, citing Fluidmaster — “How to Fix a Running Toilet”
- DealNews — Fluidmaster Pro fill valve $11.98 at Home Depot (Sep 2026)
Last verified: October 2026.