
How to Adjust a Toilet Fill Valve: Water Level in 10 Minutes
Quick answer: Pop the tank lid and find the fill valve on the left. Set the float so the water shuts off about ½ to 1 inch below the top of the overflow tube, or at the “Water Line” mark molded inside the tank. Float-cup screw: small turn, flush, watch; float-cup clip: squeeze and slide; ballcock arm: bend the metal arm gently, or use its screw.
Do you actually need to adjust this?
Three symptoms point at the fill valve’s water level:
- Water trickles into the overflow tube constantly. Look: if the stream into that tall middle pipe never stops, the level is set too high.
- The tank refills itself every few minutes for no reason. A little ghost refill now and then is usually the flapper. The 5-minute running-toilet diagnosis sorts that out — but if the water is visibly above the overflow tube, it’s the level, not the flapper.
- The flush is weak. Low water in the tank means low water in the flush. Raising the level a half-inch can be the whole fix.
If none of these match, you may have a different problem — the 5-minute diagnosis instead of turning screws at random.
Step 1 — Identify your valve (30 seconds)
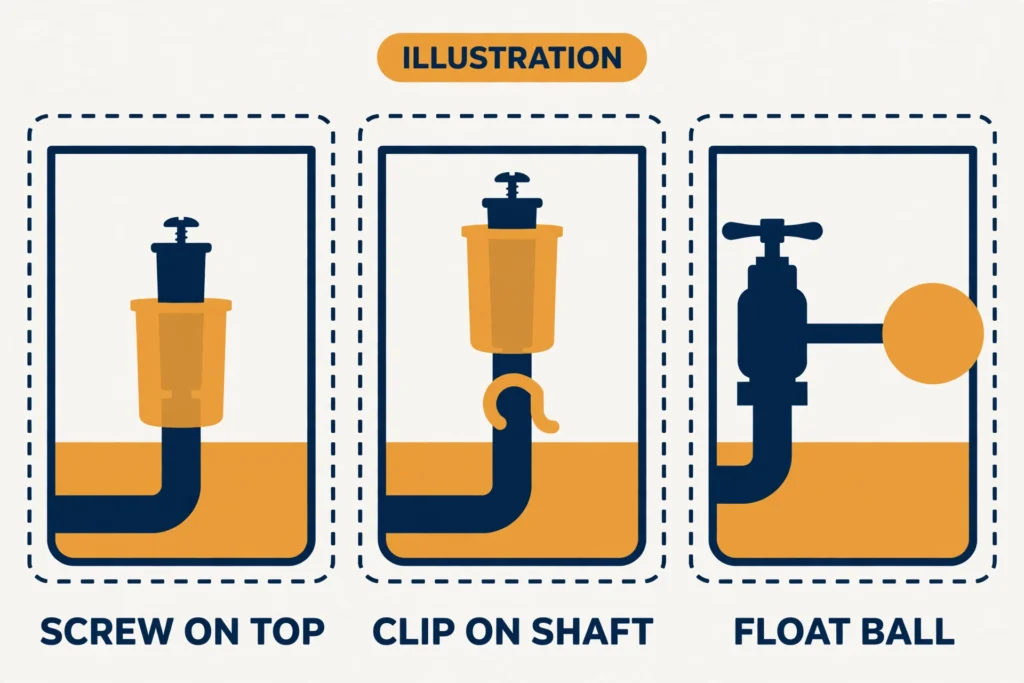
Everything else depends on this, and there are only three families. Look inside the tank:
A. Float-cup with an adjustment screw (most common). A plastic cup rides up and down a vertical shaft, and there’s a small screw on top of the valve. This is the Fluidmaster 400A and most of its cousins. The giveaway: a screw you can turn with a screwdriver or your fingers.
B. Float-cup with a spring clip. Same sliding-cup idea, but instead of a screw there’s a little metal or plastic clip on the shaft — Korky’s signature design. The giveaway: the clip you squeeze.
C. Ballcock with a float ball. An older setup: a hollow ball on the end of a metal or plastic arm. If your toilet is more than ~20 years old and never had its guts replaced, this is probably you. The giveaway: the big ball.
No tools yet. Just name yours — A, B, or C.
Step 2 — The target: ½ to 1 inch below the overflow tube
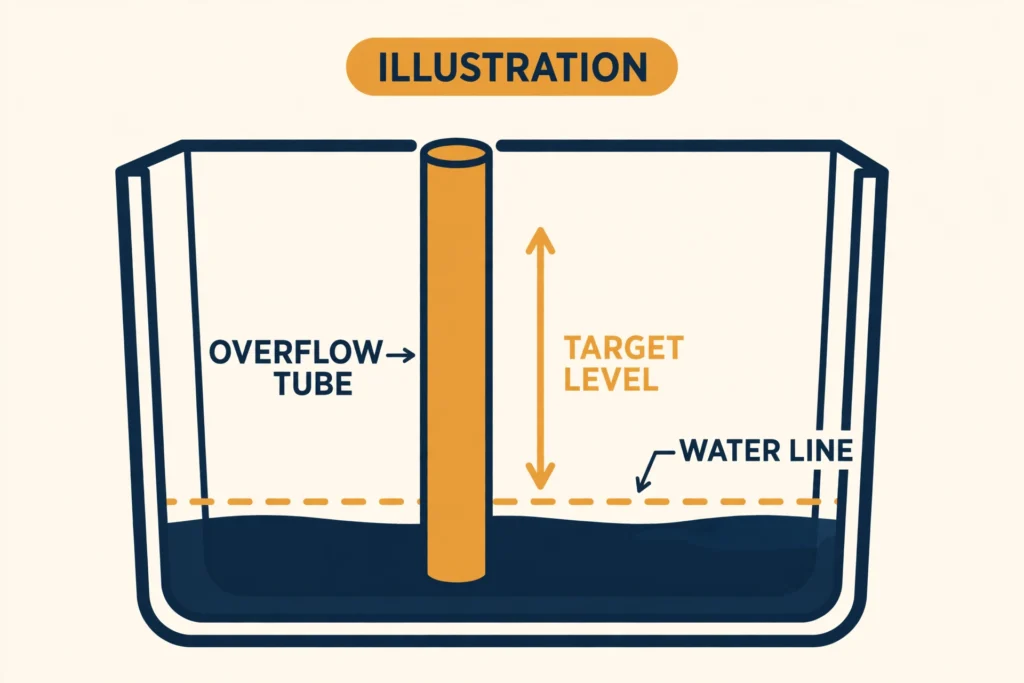
One number to hold in your head: about ½ to 1 inch below the top of the overflow tube. That’s the tall pipe in the center of the tank. Many tanks also have a “Water Line” or “Full” mark molded into the porcelain — same thing, use whichever is easier to see.
Why that number: water that sits above the tube’s top drains straight into it, forever — the valve never shuts off, and you pay for every gallon. Water set much below it gives you a weak, unsatisfying flush. ½ to 1 inch below is the sweet spot. Fluidmaster prints roughly ½ inch, and Korky prints about 1 inch.
Step 3 — Adjust your valve
Type A: the screw (Fluidmaster 400A and friends)
Find the adjustment screw on top of the valve. Here’s the part where guides argue with each other. Most manufacturer docs — Fluidmaster’s own 400A install guide, Korky’s instruction sheets — say clockwise raises the water level, counterclockwise lowers it. But some web guides say the exact opposite. Both can’t be right on every valve, so don’t trust anyone’s direction claim blindly, including mine.
Do this instead:
- Note where the water stops right now (a pencil mark on the tank wall works).
- Turn the screw two full turns in either direction.
- Flush and watch where the water stops now. The tank just told you which way your screw goes.
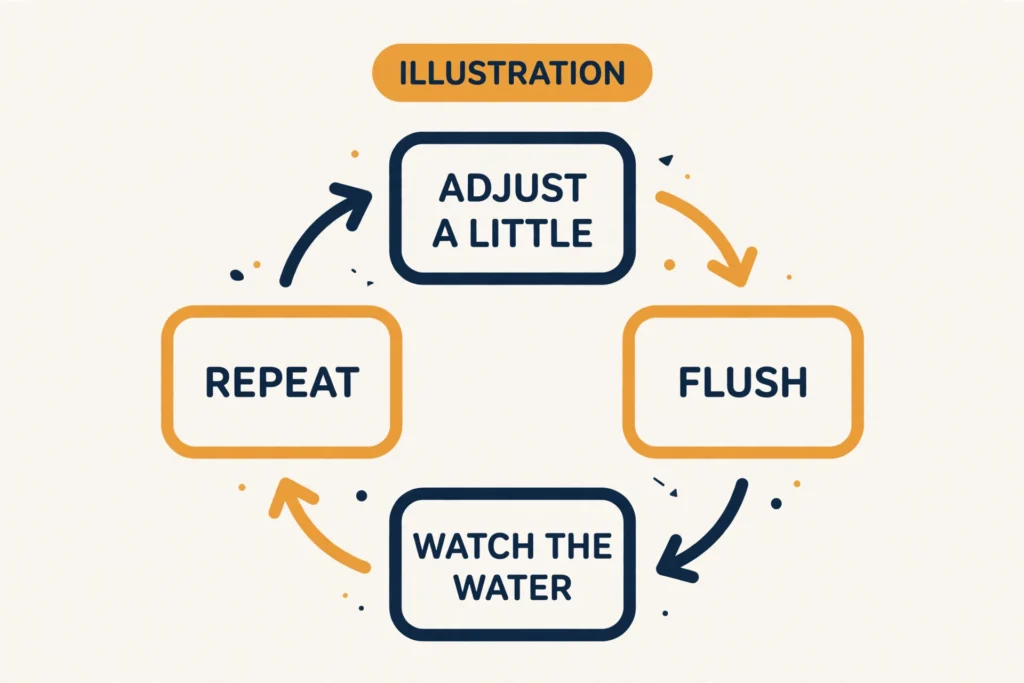
- Adjust in small increments from there — Fluidmaster’s own guide says about 8 turns moves the float half an inch, so you’re never far off. Flush after each change and check the water level: about ½ to 1 inch below the top of the overflow tube, with the tank waterline mark first where molded in.
Type B: the clip (Korky and similar)
Pinch the spring clip on the shaft and slide the float cup up to raise the level, down to lower it. Release the clip and it locks where you put it. Half-inch moves are plenty — slide, flush, check.
On Korky models with a twist-lock collar instead: twist to unlock, set the height, twist back to lock. Korky’s 528MP and 528X also have a small refill adjuster dial for the bowl fill — clockwise increases it, counterclockwise decreases it. That’s the bowl water, not the tank; leave it alone unless the bowl specifically underfills.

Type C: the ballcock arm
If there’s an adjustment screw where the arm meets the valve: on most of these, clockwise lowers the float and counterclockwise raises it. Small turns, flush, check.
If there’s no screw — just a metal arm: bend it. Gently. Down to lower the water level, up to raise it. A small bend moves the float a lot, so go easy. If the arm is plastic, do not bend it — it will snap. Plastic arms always have a screw or clip somewhere at the pivot; find that instead.
Step 4 — Flush, verify, repeat
Every adjustment ends the same way: flush and watch the full refill cycle. The water should climb, slow down, and stop cleanly about ½ to 1 inch below the overflow tube — no trickling into the tube, no hissing that never ends. If it’s still off, adjust again in small increments. Two or three rounds is normal; if you’re past five, something else is wrong (see below).
The level’s right but the toilet still misbehaves
This is the most common wrong turn: adjusting the valve when the valve wasn’t the problem.
- Water stops at the right height, but the tank refills every few minutes anyway? That’s the flapper leaking — the dye test in the running-toilet diagnosis confirms it in minutes, and the flapper swap is a $5–12, 10-minute fix.
- Water keeps flowing into the overflow tube no matter where you set the float? The valve isn’t responding to the float at all. Skip to the next section.
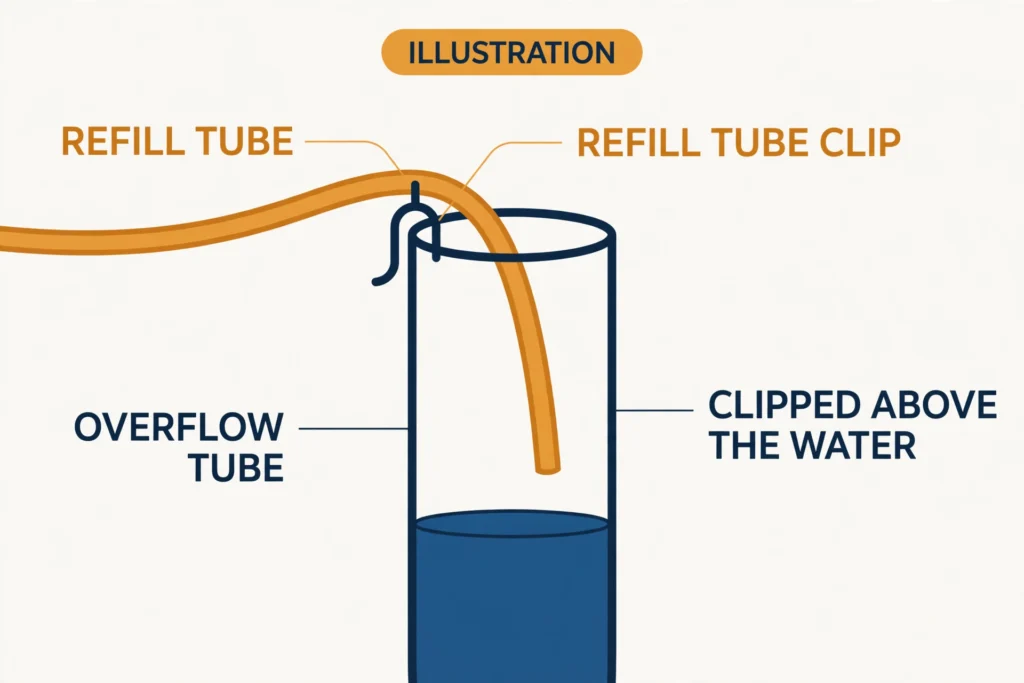
- Weak flush even at the right level? Check the refill tube — the little rubber tube should clip onto the top of the overflow pipe, not be shoved down inside it. Pushed too far in, it can siphon; not clipped on, the bowl underfills.
When adjustment isn’t enough
If the float is set right and the valve still won’t behave, work this ladder before you buy anything:
- Debris. Turn off the water, pop the cap off the top of the valve, rinse the seal underneath, and put it back. Grit or debris under the seal is a common cause of a valve that hisses or won’t shut off. Korky even sells the cap and seal separately for exactly this.
- Stuck float. The cup should slide freely on its shaft. Mineral buildup can glue it — clean it, and it usually frees up.
- Replace the valve. If the body is cracked, brittle, or older than about five to seven years, stop nursing it. A universal fill valve is $10–20, fits most standard two-piece toilets, and swaps in about 15 minutes with a pair of pliers. That’s a future article. The short version: water off, drain the tank, disconnect the supply line, unscrew the locknut under the tank, lift the old valve out, drop the new one in, reconnect.
And the honest stop points: call a plumber instead if the shut-off valve at the wall is corroded and won’t fully close. Fixing that is not a DIY first step. The toilet is a specialty model like a TOTO Washlet+, a Kohler Veil, or wall-hung. Or water is leaking from the base of the toilet or the tank itself.
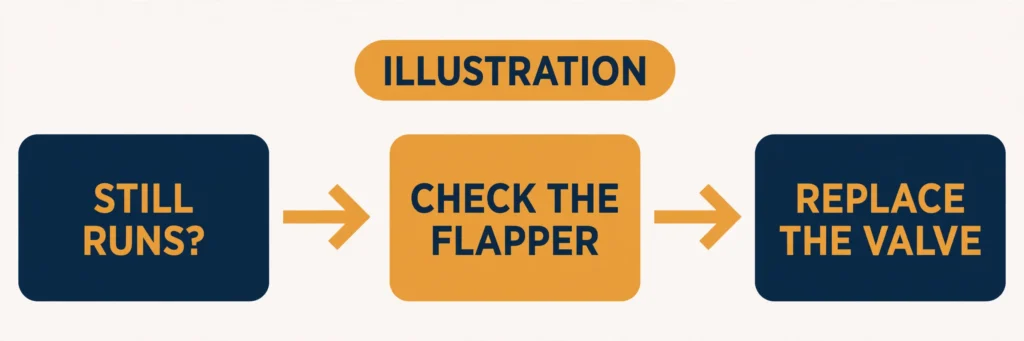
Don’t do this
- Don’t bend a plastic float arm. Metal bends; plastic snaps, and then you’re replacing the valve tonight.
- Don’t crank a stuck screw. If the adjustment screw won’t turn, forcing it cracks the valve body. Clean it or replace the valve.
- Don’t set the water level above the top of the overflow tube. That’s not “more flush power” — it’s a permanent leak into the drain and a water bill surprise.
- Don’t push the refill tube down into the overflow pipe. Clip it on top. Shoved down, it can create a siphon; unclipped, the bowl underfills.
- Don’t adjust the valve’s overall height while you’re in there. Fluidmaster’s instructions require the valve’s Critical Level (C.L.) mark to sit 1 inch above the overflow pipe — a plumbing-code requirement that guards the drinking-water supply. You’re adjusting the float, not the valve.
What this costs
| DIY | Plumber | |
|---|---|---|
| Adjustment | $0 — ten minutes, no parts | Not worth calling one for |
| Full valve replacement | $10–20 for the valve, ~15 minutes | $85–150 typical visit; up to $150–350 in markets with heavy trip fees |
Adjustment is the best free fix in homeownership. And if the running toilet was the reason, consider what it was costing you: a constantly running toilet can waste up to about 200 gallons a day (a widely cited estimate). For the full money picture — DIY-vs-pro bands tied to each diagnosis — see the running-toilet cost guide.
FAQ
How often should I check the water level? Whenever symptoms show up — you don’t need a schedule. Fill valves typically last about five to seven years (Korky), and several guides suggest replacing them about every five years. If you’re adjusting the same valve twice a year, replace it.
My toilet hisses. Is that the fill valve? Usually yes — hissing is the sound of a valve that won’t fully shut off. Adjust first; if the level is right and it still hisses, it’s debris or a worn seal (see the ladder above).
Will adjusting the water level lower my water bill? Only if it was set wrong. A correctly set valve doesn’t save water; a valve spilling into the overflow tube wastes it — up to hundreds of gallons a day.
Are fill valves universal? Most modern float-cup valves are — the shaft telescopes to fit standard two-piece toilets. The exceptions are one-piece toilets, low-profile designer models, and pressure-assisted units. Check your model before buying.
My valve has no screw, no clip, and no ball. What is it? Probably a Korky QuietFill with the twist-lock collar, or a store-brand copy of one. Twist the collar to unlock, set the height, twist back to lock. If it’s genuinely something else, send a photo to the contact page and I’ll identify it.
The short version
½ to 1 inch below the overflow tube. Find your valve type, make a small adjustment, flush, watch. If the water behaves, you’re done — ten minutes and zero dollars. If the valve ignores the float entirely, clean under the cap; if that fails, it’s a $10–20 replacement, not a plumber call. And if the level was never the problem, the running-toilet diagnosis will find what was.
Part of our plumbing repairs cluster — the fill-valve adjustment guide, for when the water level, not the flapper, is the problem.
Sources
- Korky — How to Replace Toilet Fill Valve
- Manuals.plus — Fluidmaster 400A install guide
- Manualzz — Korky QuietFill instructions
- EngineerFix — How a Toilet Float Valve Works and How to Fix It
- Angi — Toilet Fill Valve Leaking
- Plumbing Tips Today — Average Cost for Plumber to Change Toilet Fill Valve
Last verified: October 2026.